Table of Contents
Summary
NSX for vSphere (NSXv) has hit its End of Life (EOL) by VMware and due to this we need to be able to successfully remove the software from our vCenter and VMware Cloud Director (vCD) installations
Remove NSXv from vCD
- In vCD confirm the network pools are not in-use and then remove them.
- In vCenter ensure there are no VTEPs within your distributed switches.
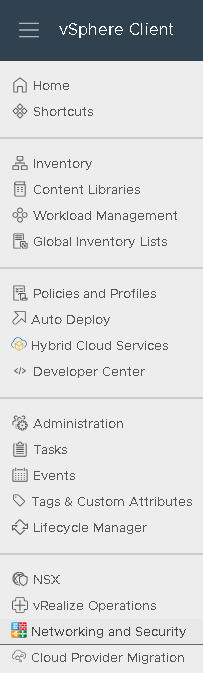
- In vCenter navigated to ‘Networking and Security’ and uninstall NSXv from ESXi.
- Each ESXi hypervisors will have to be put into maintenance mode and a reboot is recommended to remove the NSXv VIBs successfully. This is a great time to patch the hyp as well.
- Repeated for all clusters where NSXv is installed, after which there should be no NSX installed on any hyp.

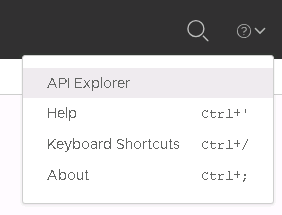
- Run VCD’s ‘API Explorer’.
- Scroll down to the entry ‘VirtualCenter’ and run ‘GET’ for ‘/1.0.0/virtualCenters Gets a paged list of Virtual Center servers.’ and click it.

- When this window expands click on ‘Try it out’ and then scroll down.

- Click ‘Execute’.
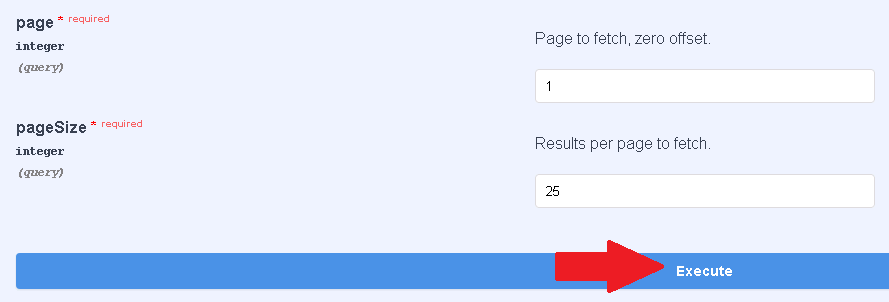
- The response will give us our vcId which we will use in the next section along with a ‘Response Body’ similar to:
{ "resultTotal": 0, "pageCount": 0, "page": 0, "pageSize": 0, "associations": [ { "entityId": "string", "associationId": "string" } ], "values": [ { "vcId": "urn:vcloud:vimserver:xxxxxxxa-xxxx-xxxx-xxxx-xxxxxxxxxxxx", "name": "vCenter Sample Name", "description": "vCenter Sample Description", "username": "string", "password": "string", "url": "https://sampleVc.vmware.com", "isEnabled": false, "vsphereWebClientServerUrl": "string", "hasProxy": false, "rootFolder": "string", "vcNoneNetwork": "string", "tenantVisibleName": "string", "isConnected": false, "mode": "NONE", "listenerState": "string", "clusterHealthStatus": "GRAY", "vcVersion": "6.7.0", "buildNumber": "12345", "uuid": "string", "nsxVManager": { "username": "string", "password": "string", "url": "https://sampleVsm.vmware.com", "softwareVersion": "string" }, "proxyConfigurationUrn": "string" } ] } - Edit this information to remove the header information but also to remove the nsxVManager information. The new values should look like this:
{ "vcId": "urn:vcloud:vimserver:63cb63cb63cb", "name": "fqdn", "description": "", "username": "administrator@vsphere.local", "password": "******", "url": "fqdn", "isEnabled": true, "vsphereWebClientServerUrl": null, "hasProxy": false, "rootFolder": null, "vcNoneNetwork": null, "tenantVisibleName": null, "isConnected": true, "mode": "IAAS", "listenerState": "CONNECTED", "clusterHealthStatus": "GREEN", "vcVersion": "7.0.3", "buildNumber": "19480866", "uuid": "52b252b252b252b2", "proxyConfigurationUrn": null } - Scroll down to ‘PUT’ and ‘/1.0.0/virtualCenters/{vcUrn} Update specified Virtual Center server’ and click it.

- When this window expands click on ‘Try it out’ and then scroll down and in the vcUrn box copy/paste your vcId from the above output (So vcId = vcUrn) and then scroll down and paste in your updated updateVCenterServerParams. Then click ‘Execute’.
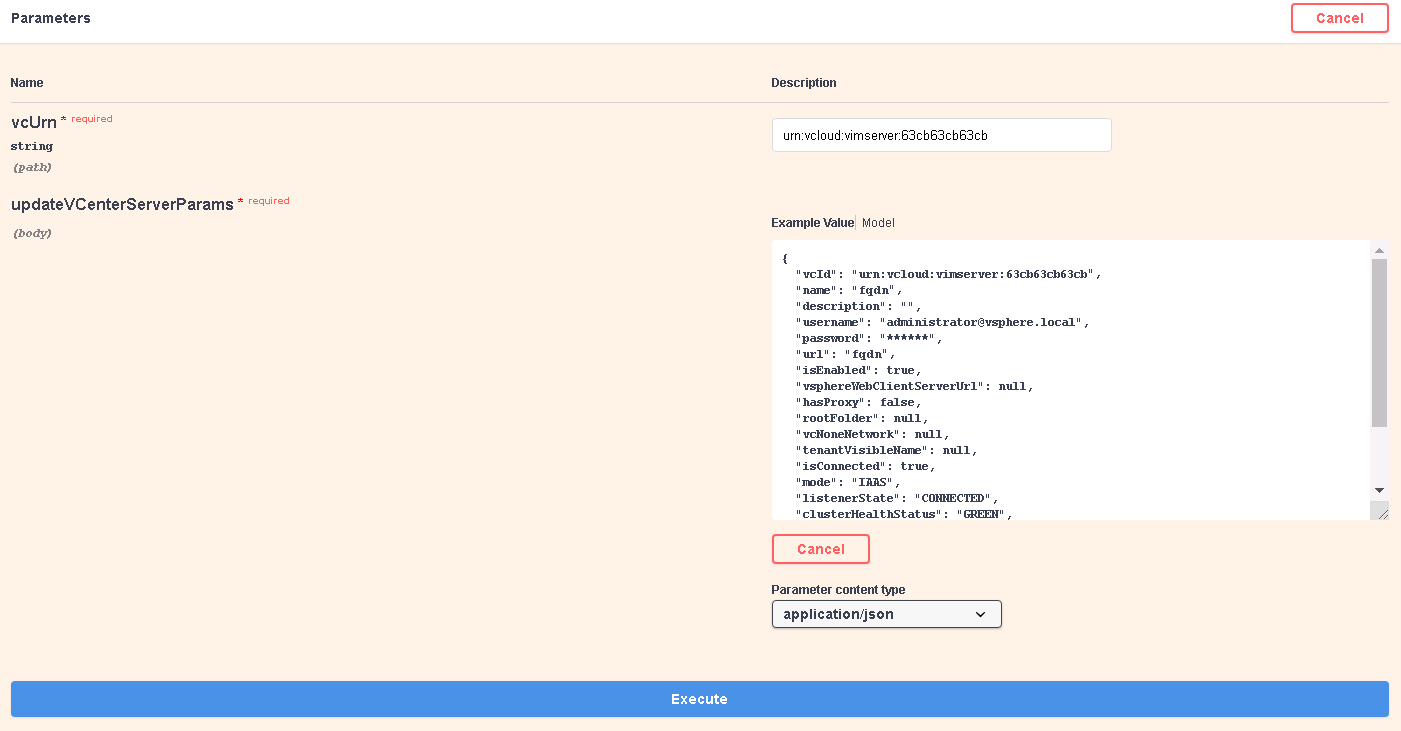
- You should get a response code of ‘202’.
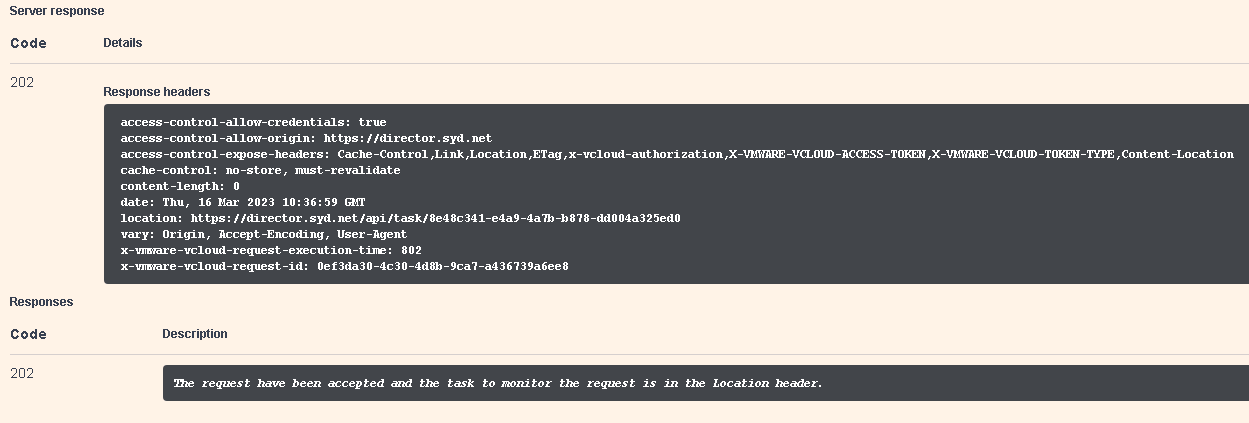
- This will kick off a job in vCD titled ‘Updated VirtualCenter vCenter-FDQN’.

- Once that job is done another job will kick off in vCD titled ‘Started connection to VirtualCenter vCenter-FQDN’

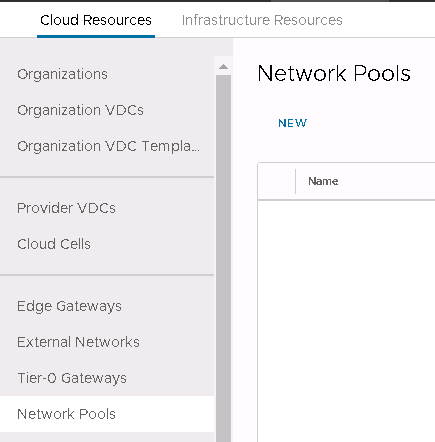
- To verify your vCD is no longer using NSX, simply click on ‘Infrastructure Resources’ and then ‘vCenter Server Instances’ and then click on the vCenter-FDQN.
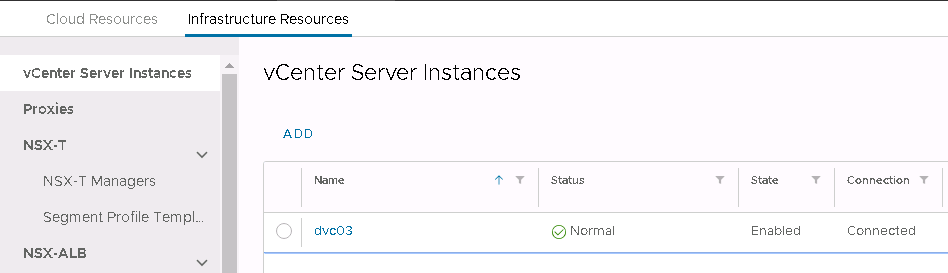
- Scroll down and at the bottom you should find ‘NSX-V Manager Info’ with the ‘State’ set to ‘Disabled.’

Remove NSXv from vCenter
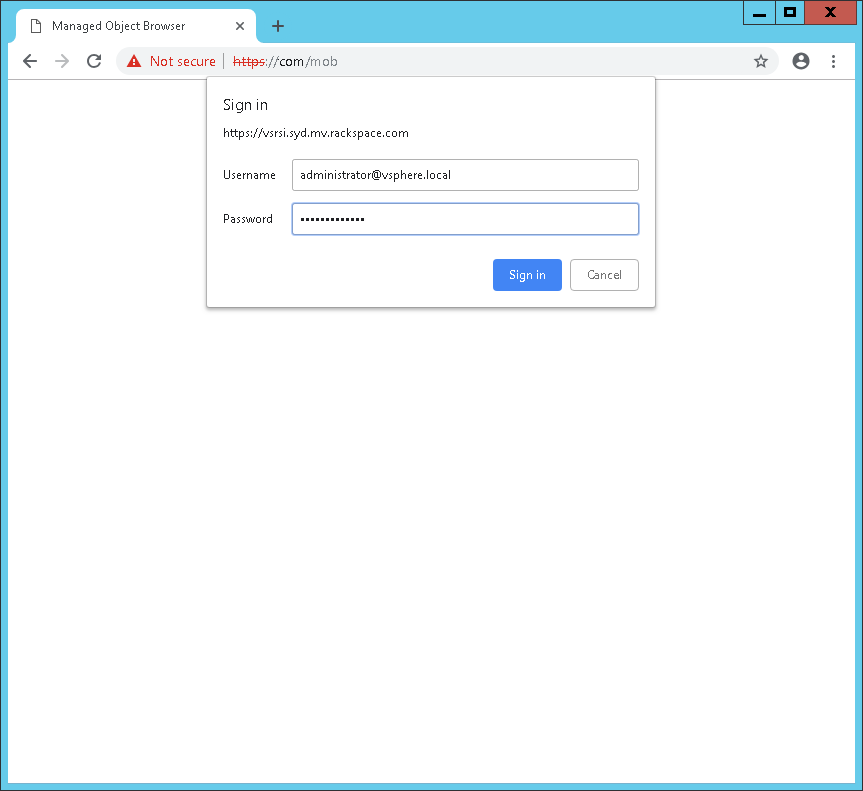
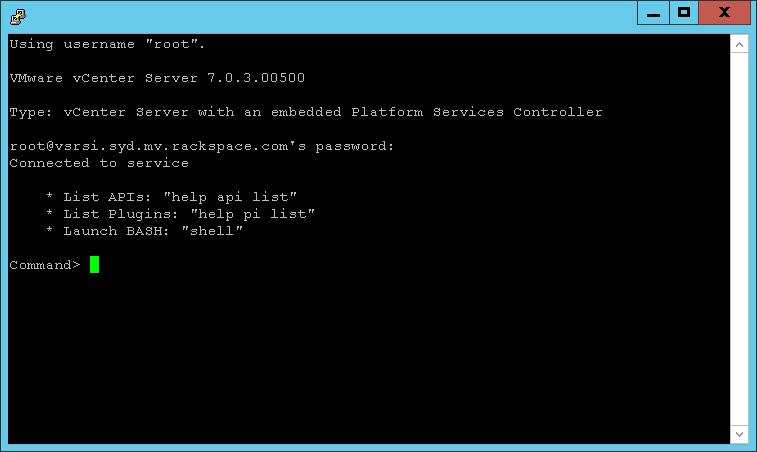
- To remove NSXv from vCenter you will need the administrator account, then open your vCenter’s FQDN followed by /mob, Ex: https://vCenter-FQDN/mob , and login using administrator account.
- Click ‘content’.
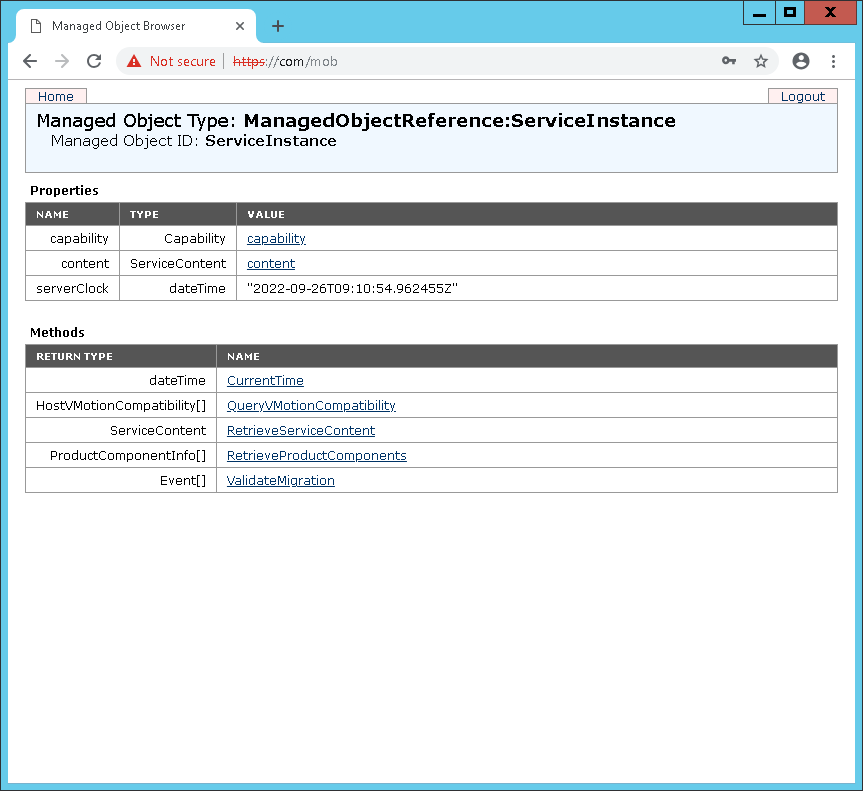
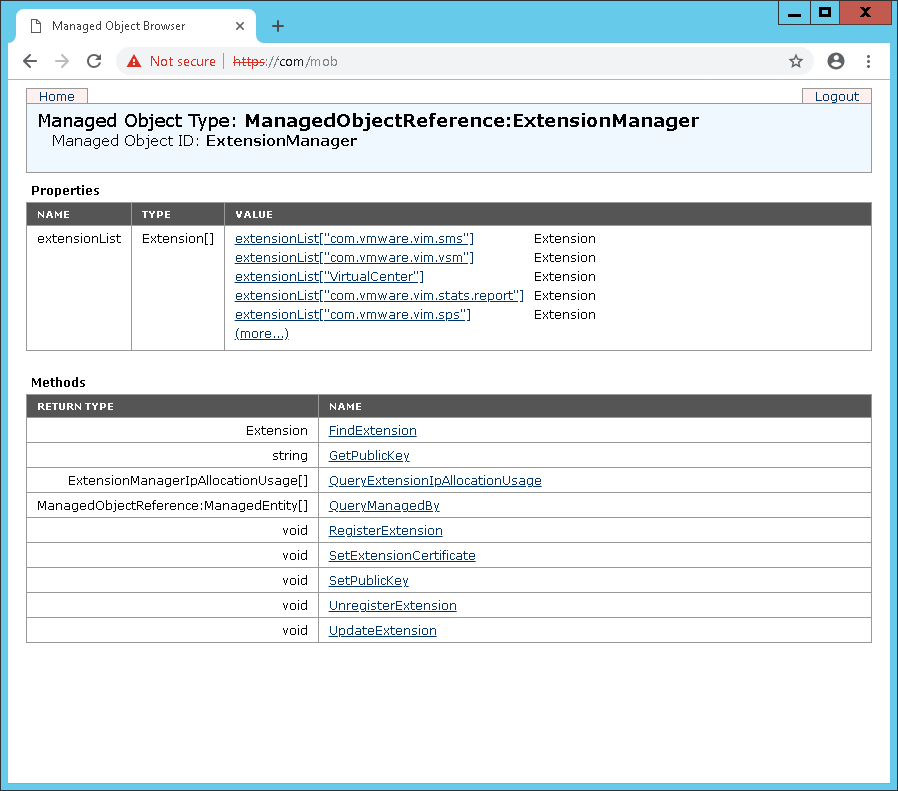
- Click ‘ExtensionManager’.

- Click ‘UnregisterExtension’.
- Which will pop open a new dialog box.
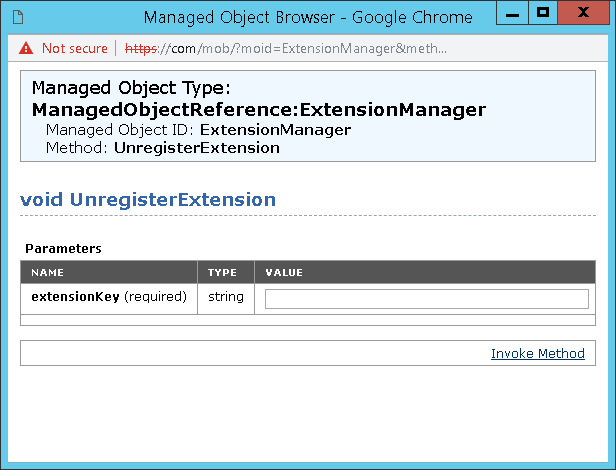
- Enter the string below and click ‘Invoke Method’.
com.vmware.vShieldManager
- You should see a ‘Method Invocation Result: void’ response.
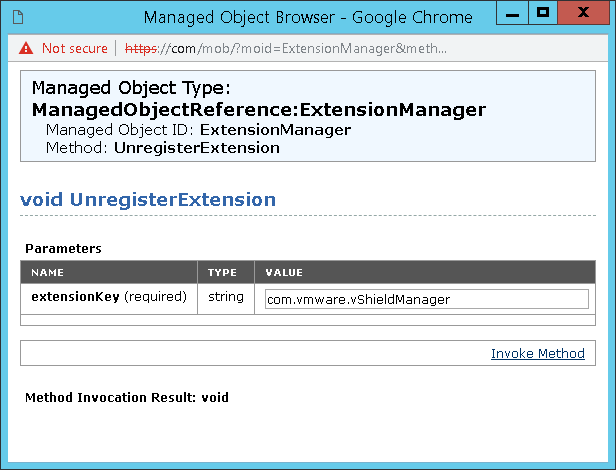
- Enter the string below and click ‘Invoke Method’.
com.vmware.nsx.ui.h5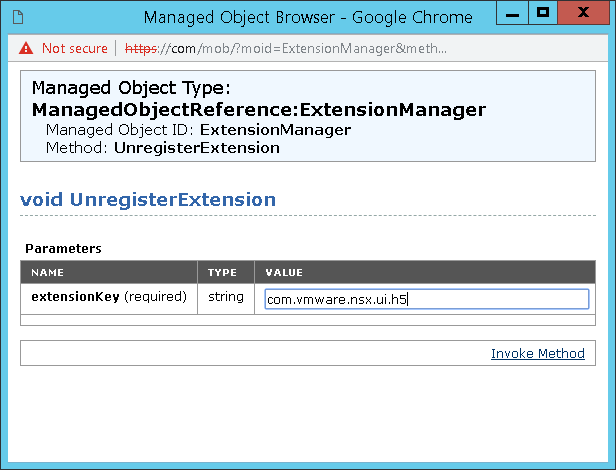
- You should see a ‘Method Invocation Result: void’ response.

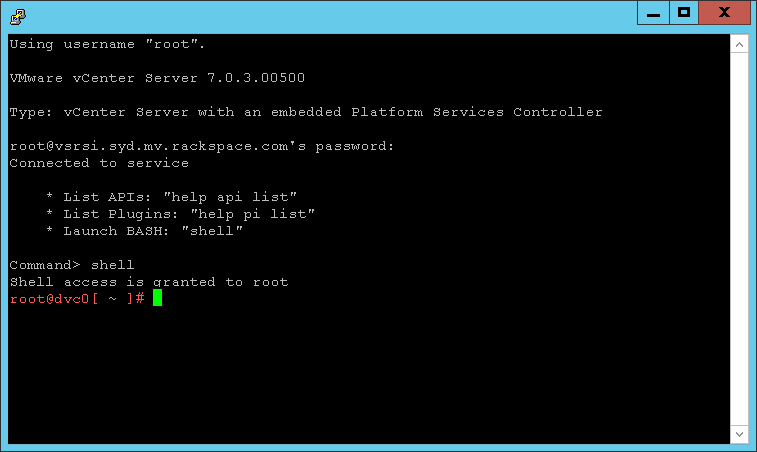
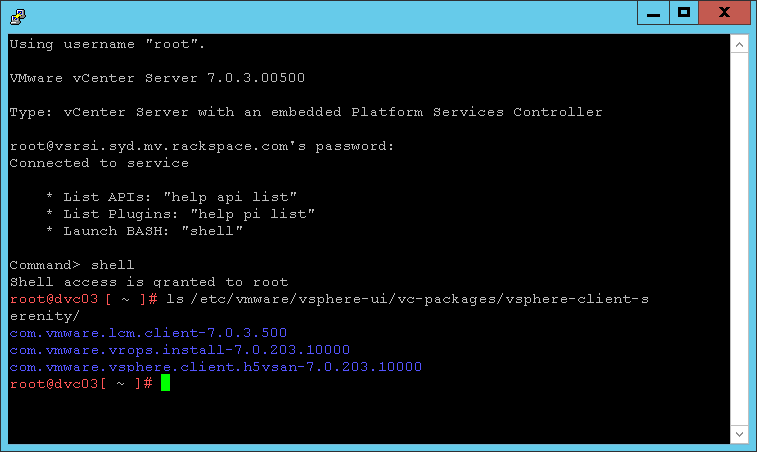
- For vCenter 7 series log into SSH and ensure that you do not have any nsx or vShield objects within ‘/etc/vmware/vsphere-ui/vc-packages/vsphere-client-serenity/’
NOTE: If you are running vCenter 6 series then please look here for additional steps
- At SSH (or the VAMI) restart the vCenter user interface by running:
service-control --stop vsphere-ui
- Start the vCenter user interface by running:
service-control --start vsphere-ui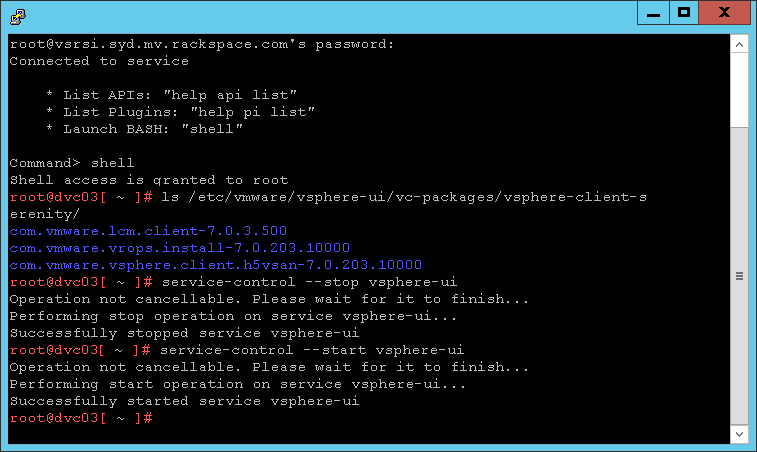
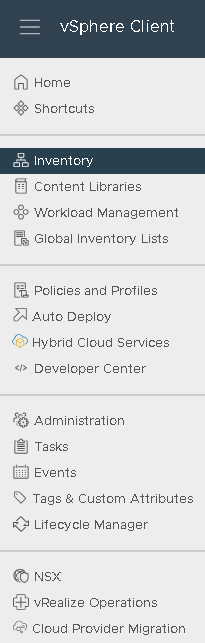
- It will take a minute or two for the full GUI to respond again but once done ‘Networking and Security’ should no longer appear within the UI.
Big thanks to Eric Stine and Tom Fojta at VMware for the assistance on this method.
REF: Tom’s article