Table of Contents
- Table of Contents
- Summary
- Getting Started
- Create Service Accounts
- Deploy And Configure Skyline
- VMware Documentation
Summary
VMware Skyline is a new product currently for premier partners. The product is installed as an appliance within an existing vCenter environment and can be tied into vCenter, NSX, Horizons, and vRealize Operations. It proactively examines the environments that it is tied into and reviews the configuration giving you detailed inventory views. These views have a couple of primary benefits, the first is the proactive findings tab which will give you detailed issues within your environment. These findings can include misconfigured devices, vulnerabilities, and missing settings, along other possible issues. The second major benefit is the ability to quickly send bundle logs to VMware. When you are working on an SR the engineer at VMware will send a request through the Skyline product, you simply have to approve the bundle and it will perform the function for you! That means no more manually pulling the bundles and uploading them to VMware’s website, this is a major time saver.
Getting Started
At the time I am writing this you need to be a premier partner with VMware in order to deploy Skyline. Before deploying VMware Skyline I recommend going through the process of setting up your new service accounts in your VMware products. As of the time I’m writing this the process is manual and requires a service account within at least vCenter with optional service accounts for NSX Manager, Horizons, and vRealize Operations. I also recommend looking over the port requirements from VMware to ensure everything is pre-configured as this can be a road block if your network is tightly controlled.
| Machine | Connection To | Connection Type | Protocol | Port |
|---|---|---|---|---|
| VMware Skyline Collector | vcsa.vmware.com | HTTPS | TCP/IP | 443 |
| VMware Skyline Collector | vapp-updates.vmware.com | HTTPS | TCP/IP | 443 |
| VMware Skyline Collector | vCenter Server | HTTPS | TCP/IP | 443 |
| VMware Skyline Collector | PSC/SSO Service provider 5.5 | HTTPS | TCP/IP | 7444 |
| VMware Skyline Collector | PSC/SSO Service provider 6.0/6.5 | HTTPS | TCP/IP | 443 |
| VMware Skyline Collector | NSX Manager | HTTPS | TCP/IP | 443 |
| Web browser | Skyline Collector user interface | HTTPS | TCP/IP | 443 |
| Web browser | Skyline Collector (VAMI) | HTTPS | TCP/IP | 5480 |
Create Service Accounts
vCenter Service Account (vsphere.local)
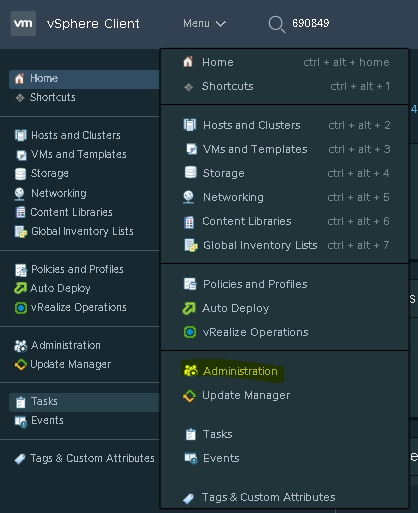
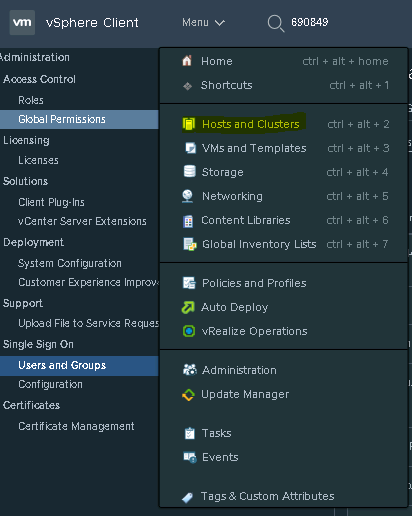
- You will need to create a service account for Skyline, if you have a domain then it can be a domain login but for this document we will be creating a vsphere.local account. First you will need to log into the vSphere Client, click on the Menu button and go to Administration.
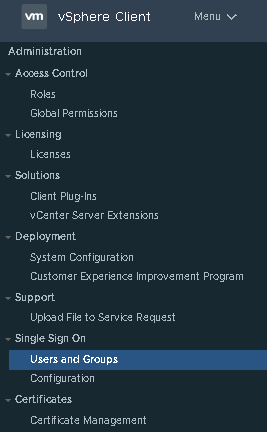
- Under Single Sign On click on Users and Groups.
- On the domain drop down menu select your domain, for ours that will be vsphere.local.
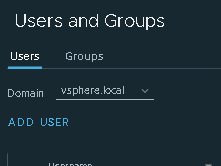
- Supply the needed information to create the new Skyline service account following your naming standards.

vCenter Role
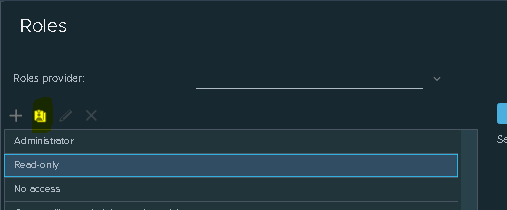
- We will need to create a custom role for this new service account. On the same administration pane click on Roles.
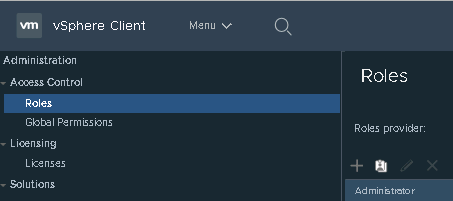
- Ensure your ‘roles provider’ is set to your vCenter and select the Read-only role followed by clicking the clone icon.
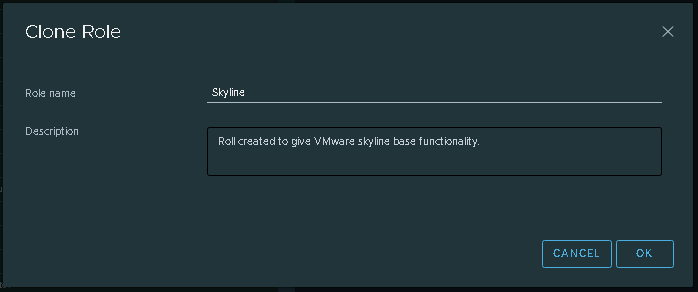
- Rename the role and give it a description and click OK.
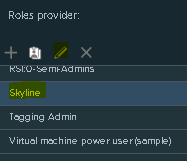
- Now click on the new roll you just created and click the pencil icon.
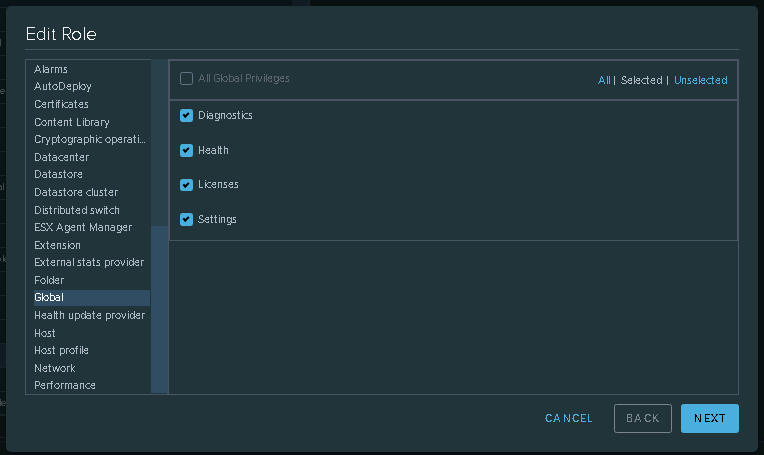
- Select Global and then enable Diagnostics, Health, License, and Settings privileges and finish out the wizard.
vCenter Permissions
- Now that we have created the service account and role we need to assign permissions using them at the vCenter level. Click on Menu and then select Host and Clusters.
- In the right pane select permissions tab and click the Plus sign to add a new permission.
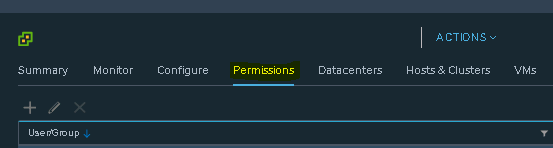
- Ensure that vsphere.local is selected for the auth source and enter the service account name and role you just created. Be sure to check ‘propagate to children’ and click OK.

NSX Service Account (local)
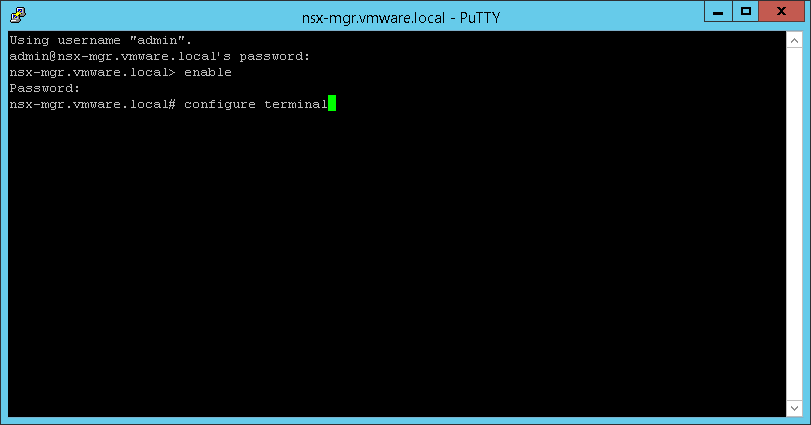
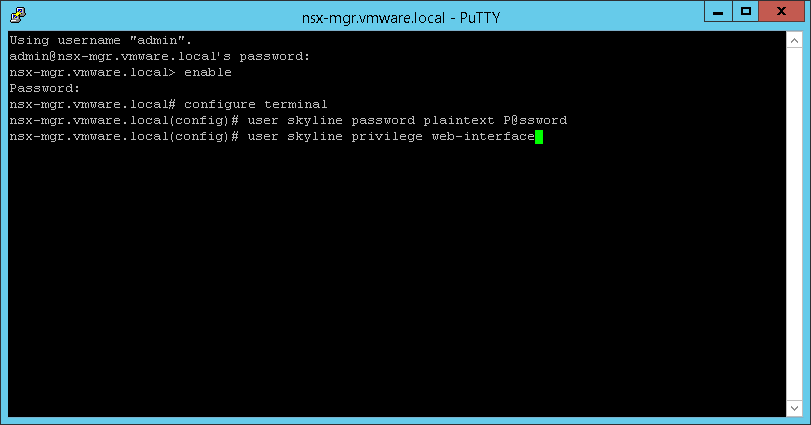
- Creating service account in NSX is a bit more challenging and requires command line access to the NSX manager plus a rest API client of some form. Log into either the console or SSH into the NSX manager, default account will be ‘admin’ with your password (default password is ‘default’).
- We will now want to enable access by simply typing in enable and providing the password, which by default is ‘default’
- Now enter configure terminal so that we can create the account.
- Enter the command to create a user and assign it the web-interface privilege.
user skyline password plaintext P@ssword
user skyline privilege web-interface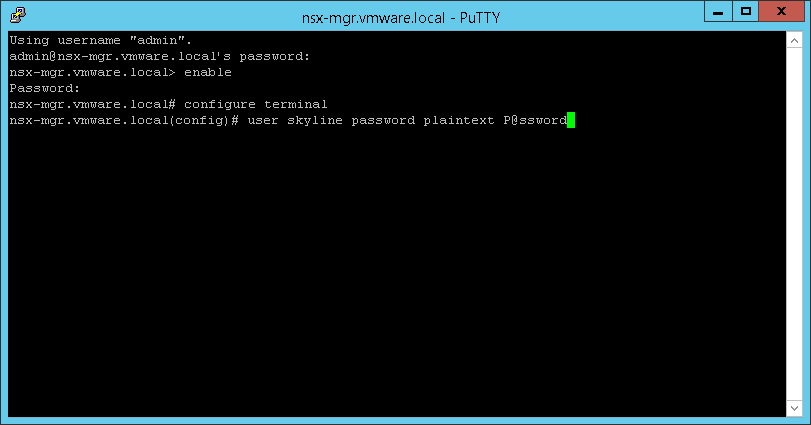
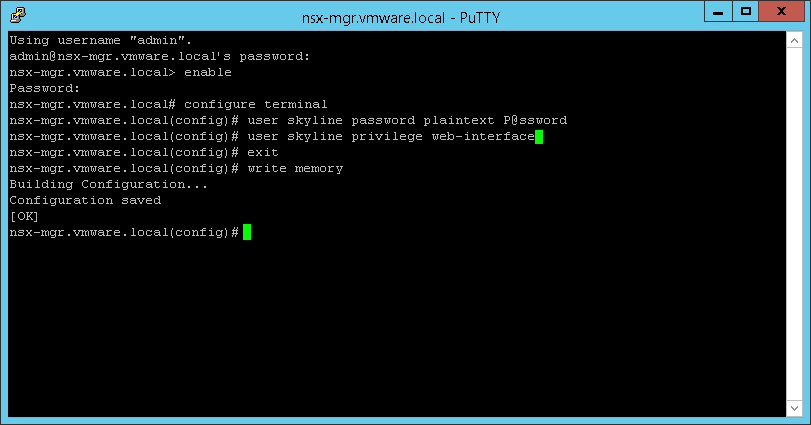
- Now we need to exit out of the configure terminal by entering exit.
- We complete this work by writing out memory by entering write memory.
NSX Rest API Account Creation
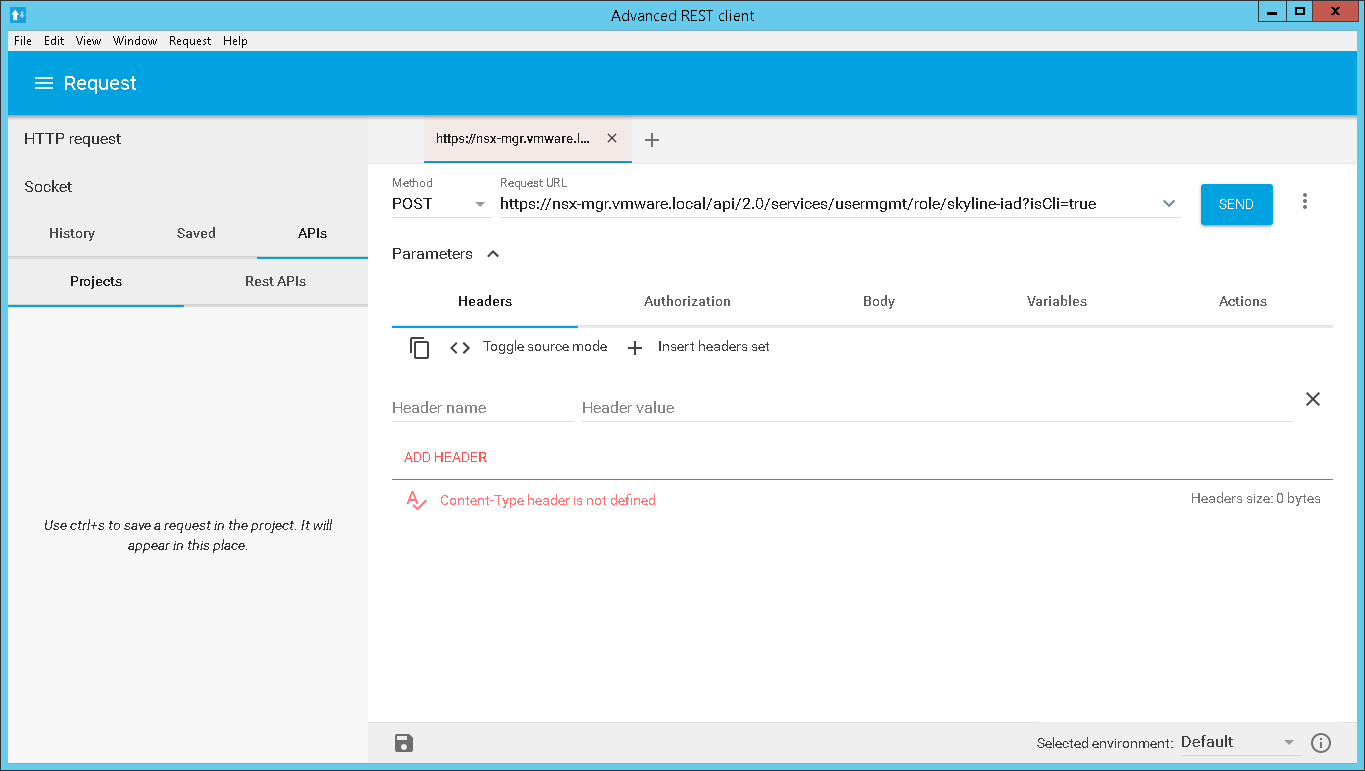
- Using your favorite Rest API client you will need to POST to your NSX manager. For this example I will show this via the Advanced Rest Client (ARC) but you can use any of your favorite clients including curl command.
- Launch ARC and select ‘post’ method and enter the URL for the NSX manager calling for the api usermgmt feature. https://nsx-mgr.vmware.local/api/2.0/services/usermgmt/role/skyline-iad?isCli=true
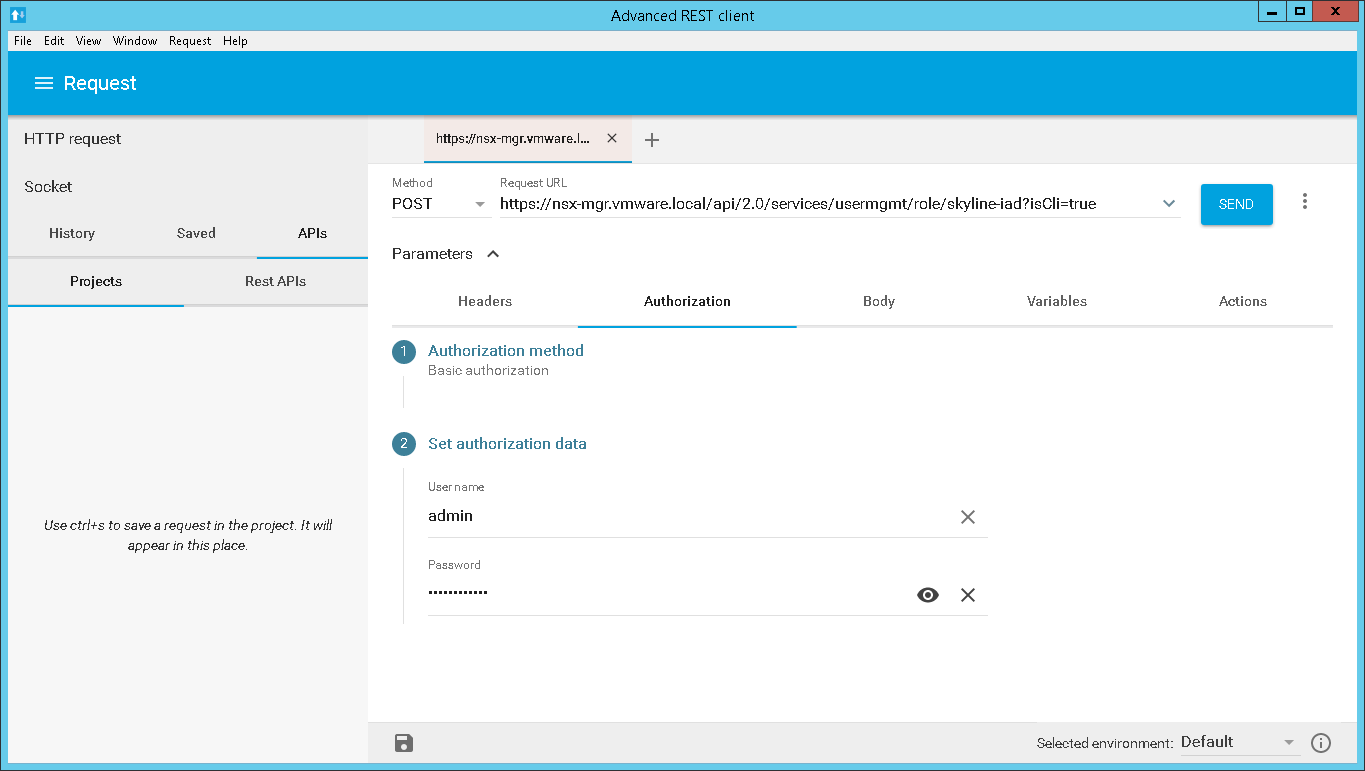
- Click on Authorization tab and under authorization method select basic authorization. Enter your NSX manager ‘admin’ username and password.
- Now click on the Body tab and under the Body content type change it to application/xml and enter the following:
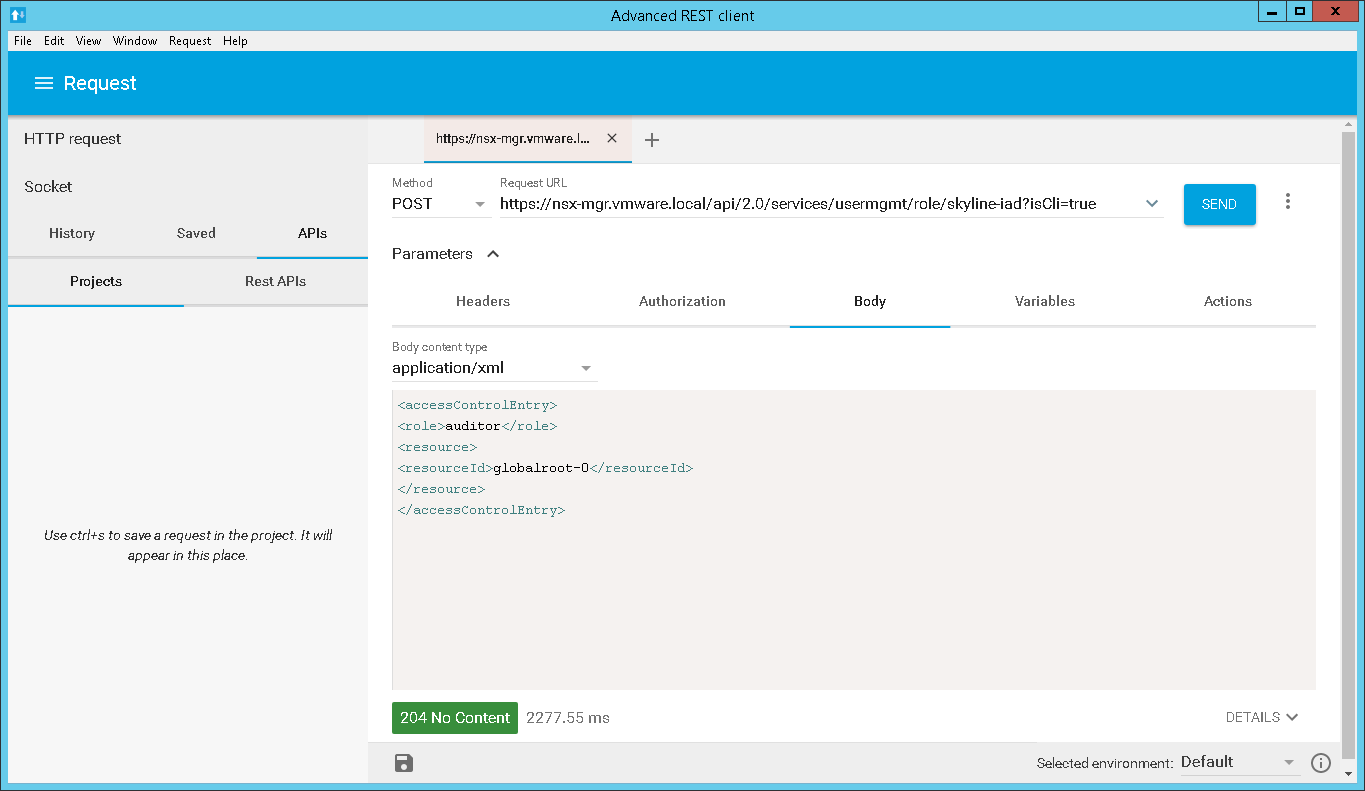
     <accessControlEntry>
     <role>auditor</role>
     <resource>
     <resourceId>globalroot-0</resourceId>
     </resource>
     </accessControlEntry>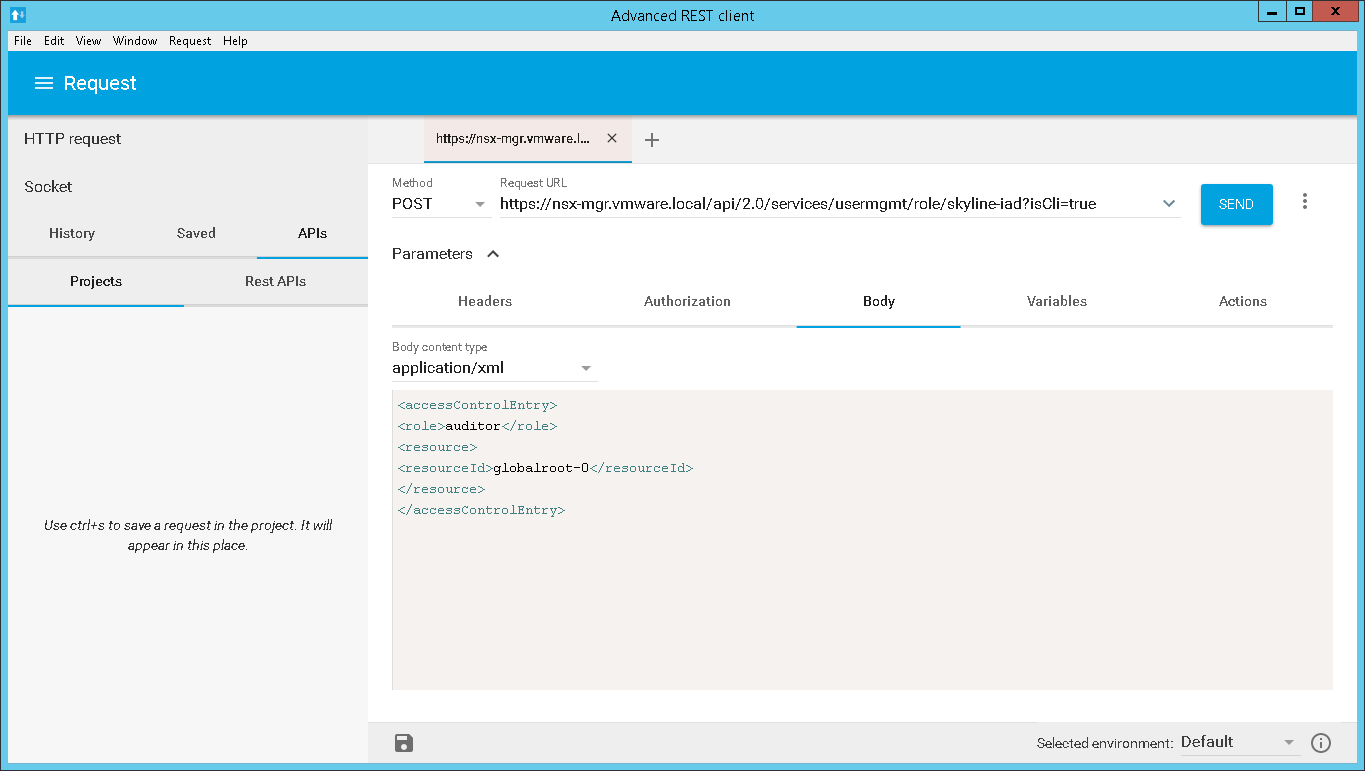
- Now click the send button to send the command to the manager. If it was successful you will see a 204 No Content response from the ARC client.
BONUS: The above ARC work can be completed via a single curl command from a linux machine:
curl -v -H "Content-Type:application/xml" -k -u admin -X POST -d "<accessControlEntry><role>auditor</role><resource><resourceId>globalroot-0</resourceId></resource></accessControlEntry>" https://nsx-mgr.vmware.local/api/2.0/services/usermgmt/role/skyline-iad?isCli=true
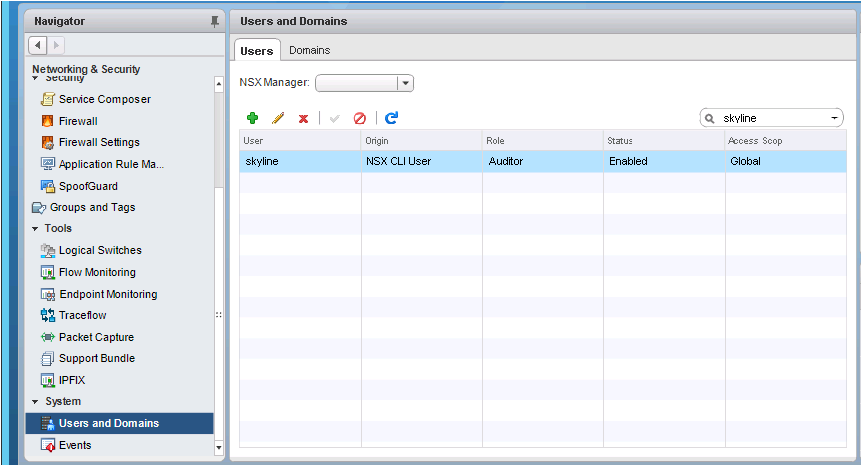
NSX confirm account creation.
- You can now confirm the creation of the account via the vSphere Web Client. Simply click on Menu and go to Networking and Security.
- Scroll down to Users and Domains and search for skyline account on the right.
Deploy And Configure Skyline
- You will need to go to https://skyline.vmware.com/get-started to start the process for getting skyline. You will need to associate your support entitlement and then you will be able to download the collector. The collector specifications are 2 vCPUs, 8GB of RAM, and 87GB of disk space.
- When you deploy the OVA the OVF GUI should ask you for IP address information, password, etc.
- Power on the VM once it is deployed. If you need to change any settings then you can browse to the FQDN or IP address on port 5480, Example: https://skyline.vmware.local:5480 The default username is root with the password you provided during the installation process.
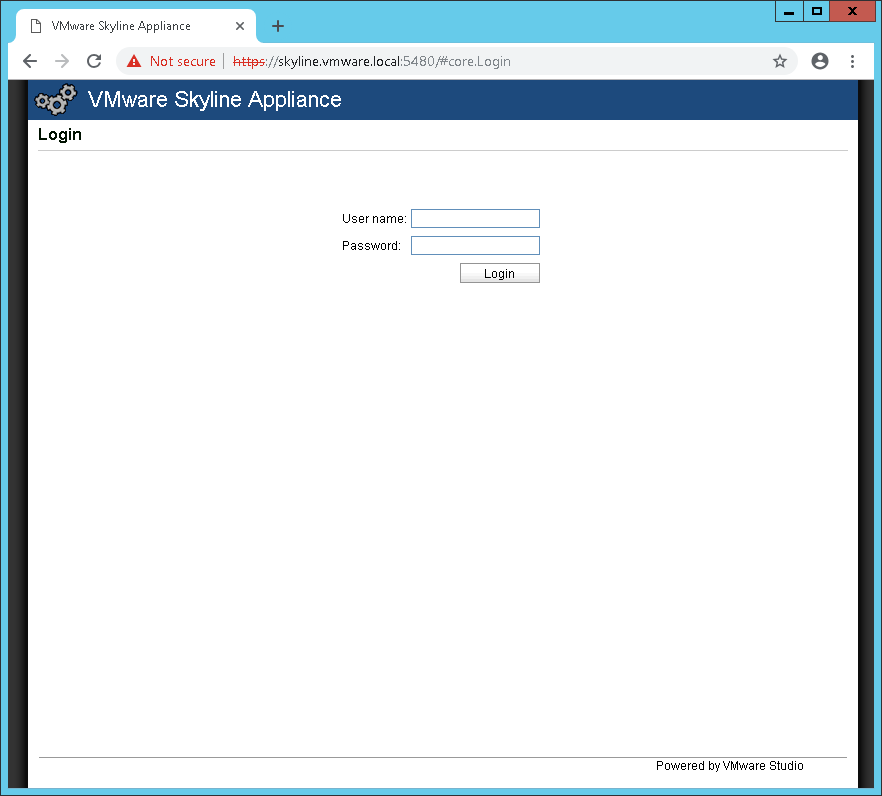
- Now log into the main webpage for the appliance, this is located at the FDQN or IP address you have assigned to this machine. The defaults:
username: admin password: default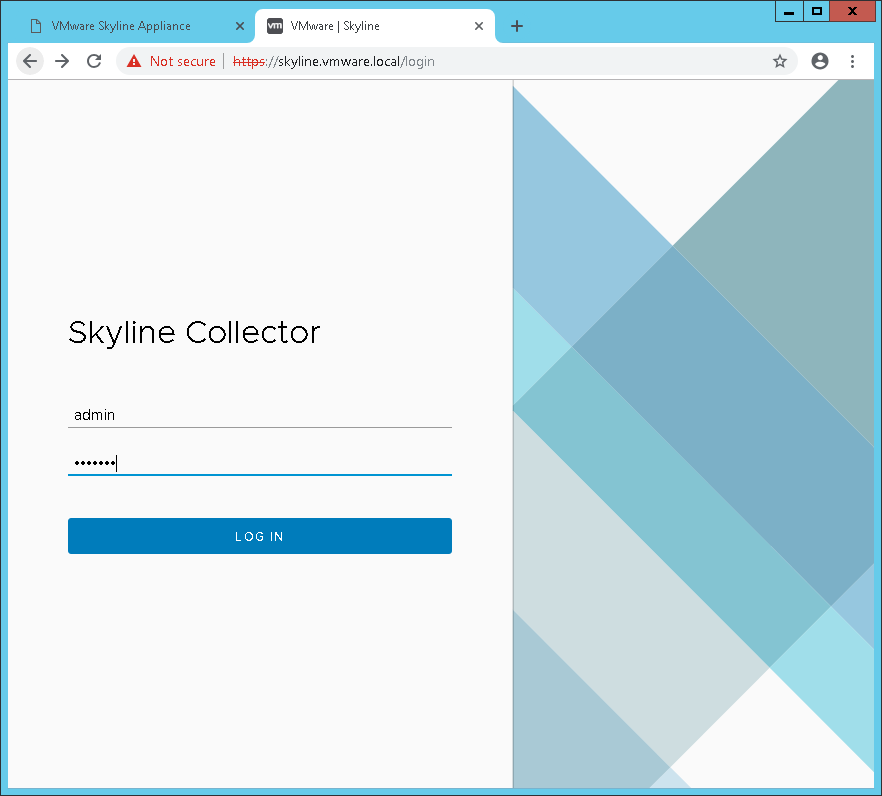
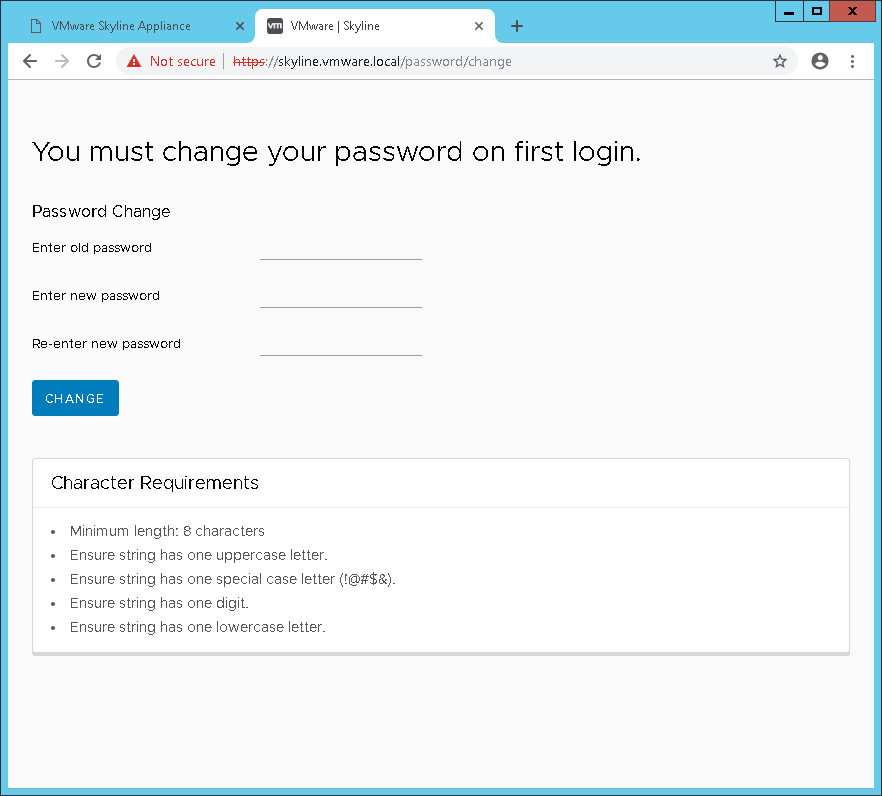
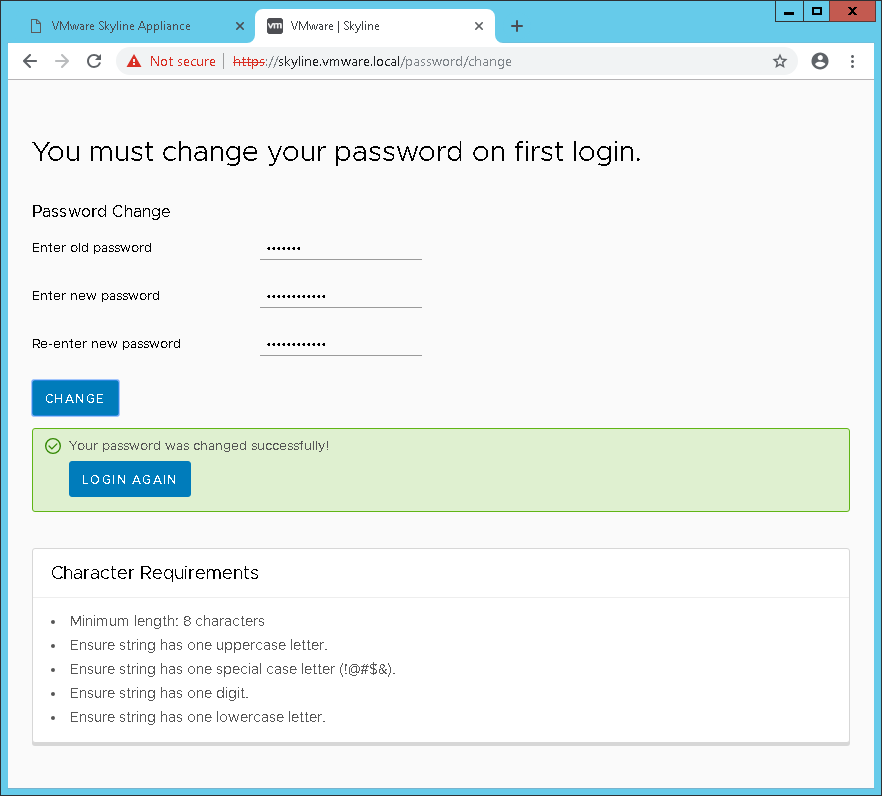
- Once logged in you will immediately be requested to change the password.
- After you change the password you will be asked to log back into the appliance.
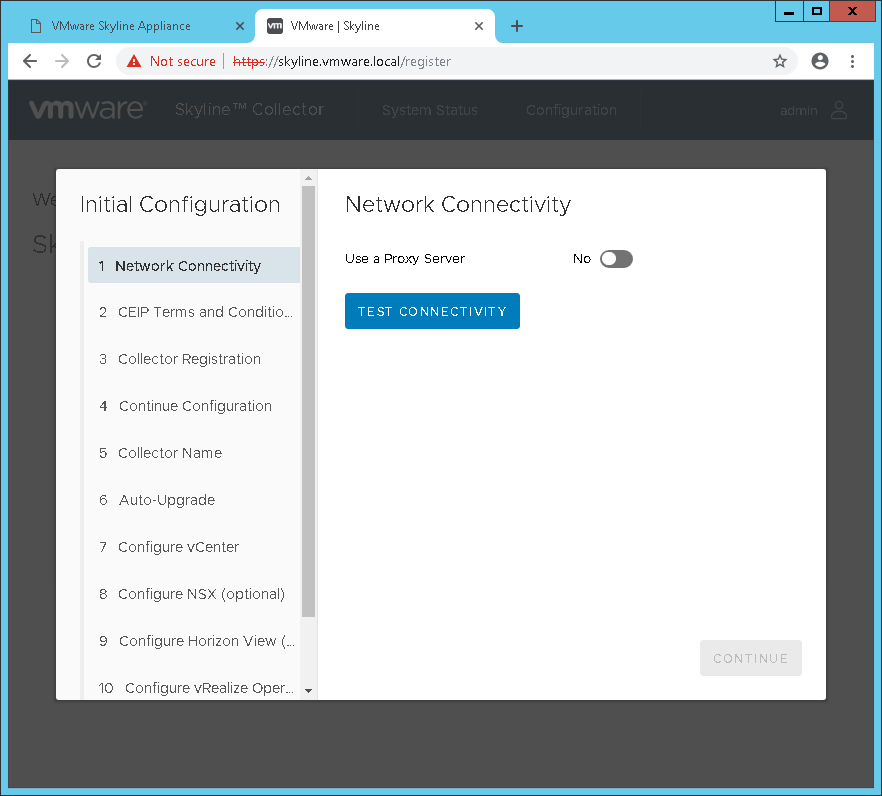
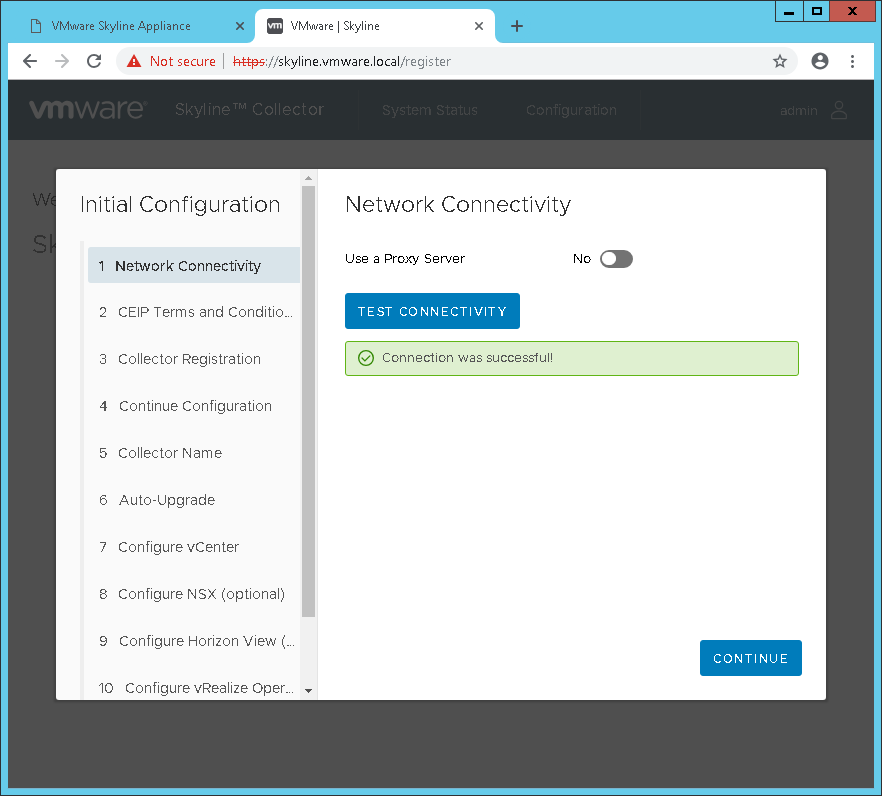
- Run the connectivity test and click continue.
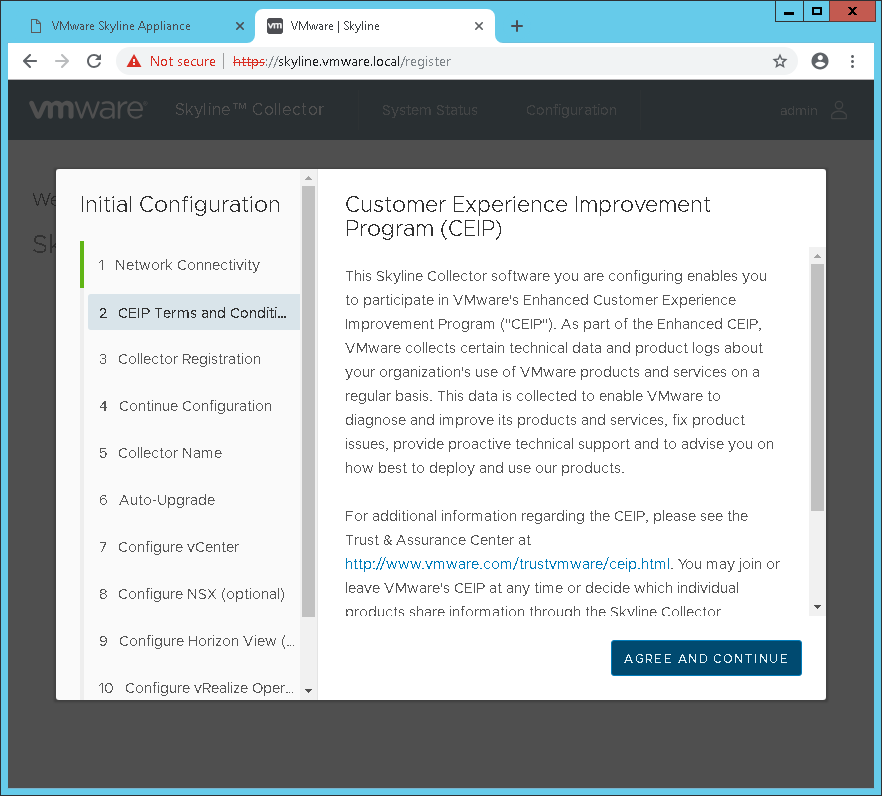
- Agree to the terms and conditions.
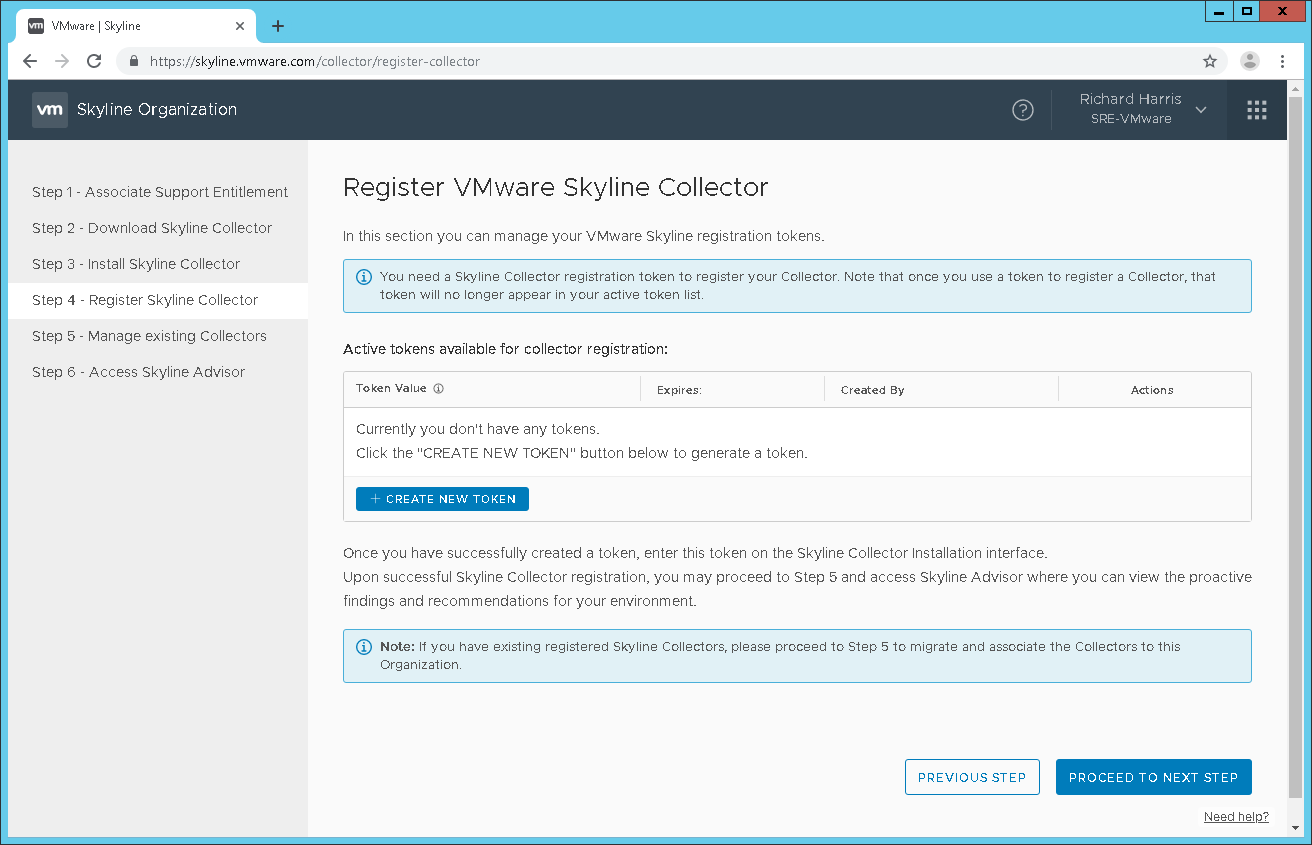
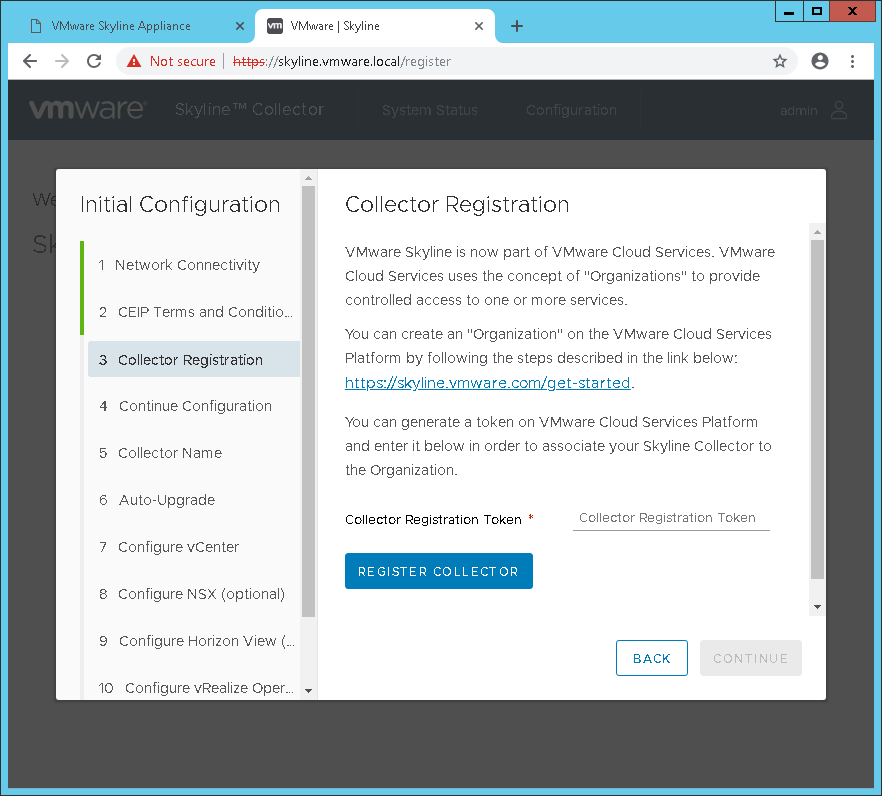
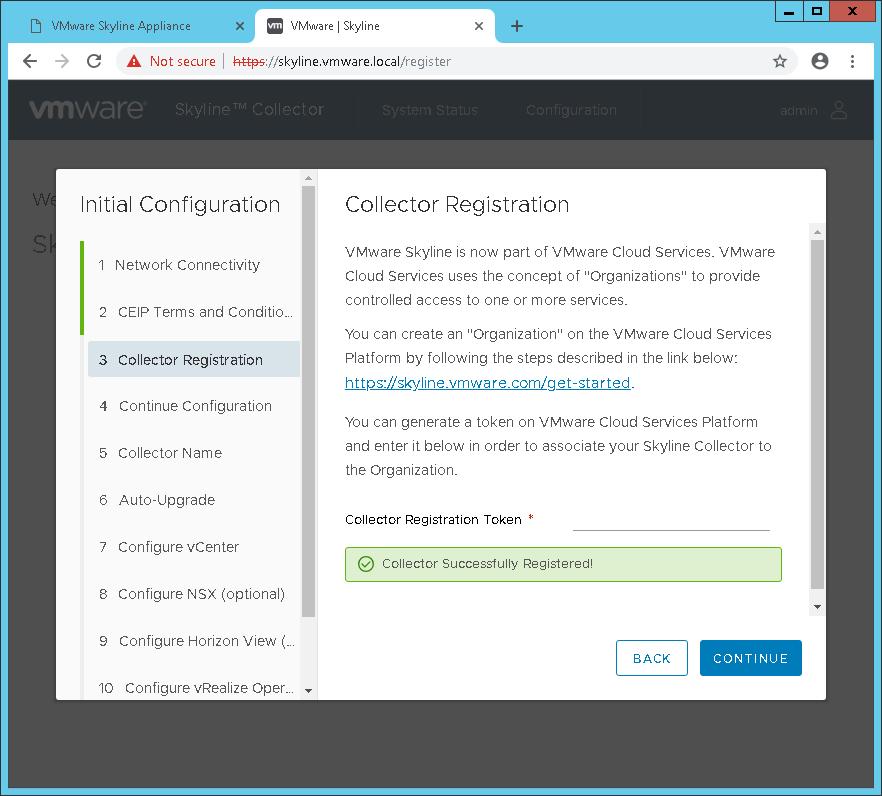
- You will need to browse to https://skyline.vmware.com/get-started in order to generate a collector registration token. On that website you can either create a new organization or connect it to an existing organization. If you have multiple vCenters but they all serve the same customer/company then I recommend merging them all into a single organization. However, if you have independent customers/companies then I suggest each one being its own organization.
- Once you have the collector token enter it in and click the Register Collector button.
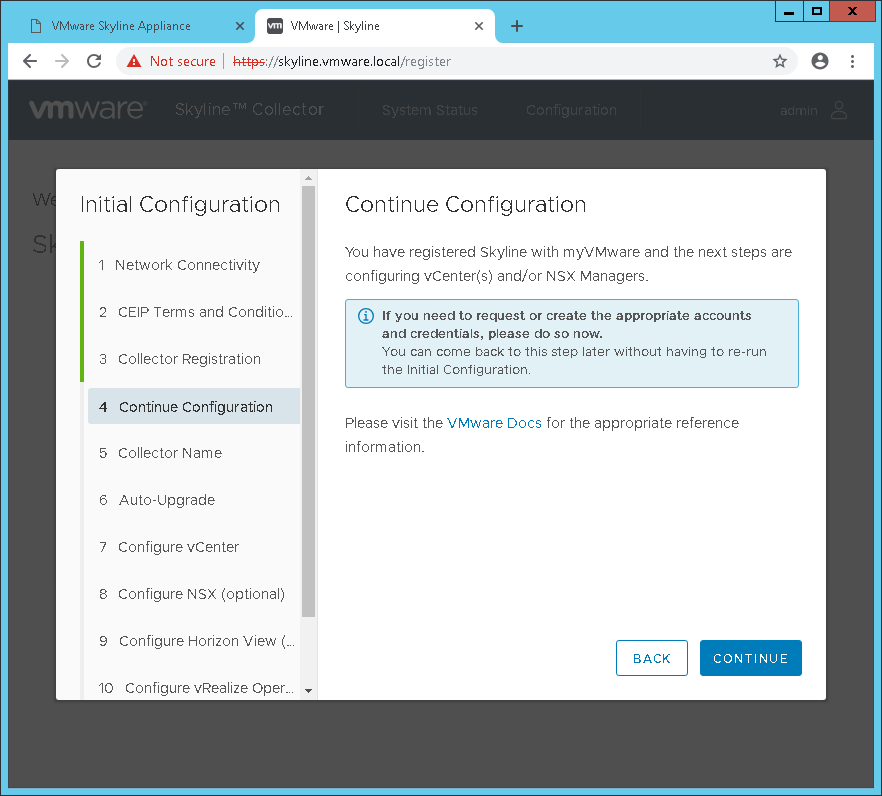
- You will be asked to continue configuration, simply hit continue.
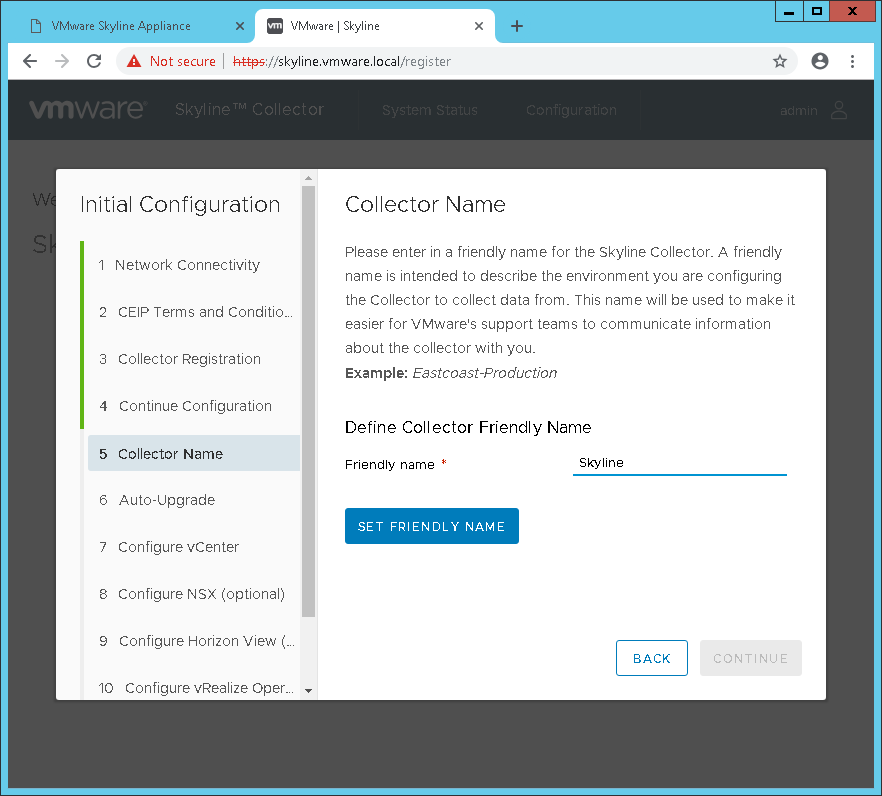
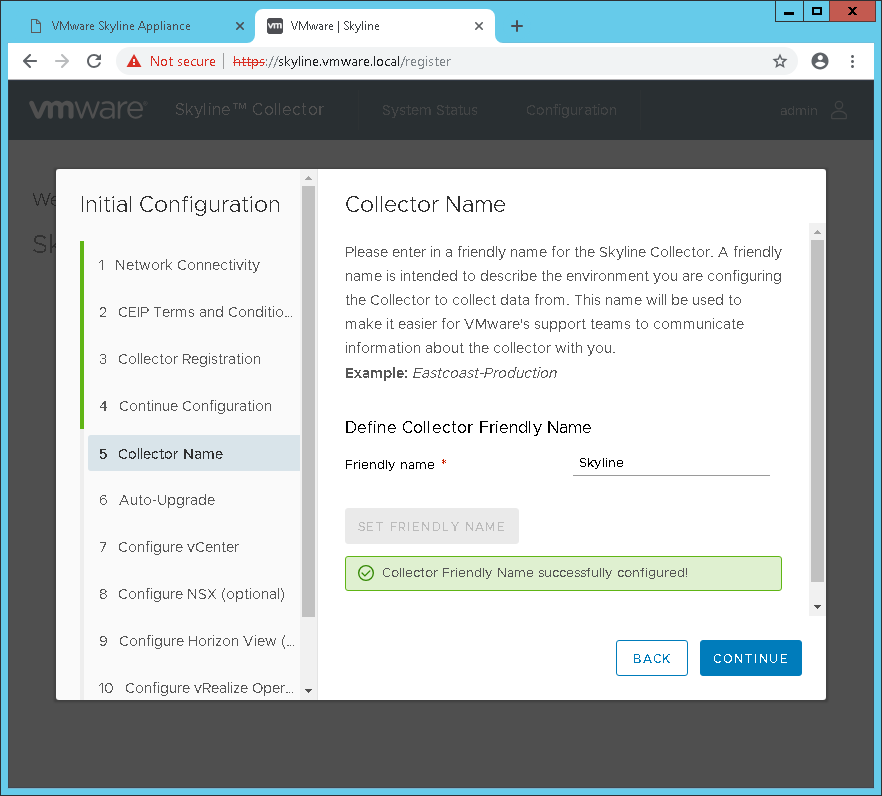
- Provide a friendly name for your collector, something that will help you know which collector this is. Click Set Friendly Name and then continue.
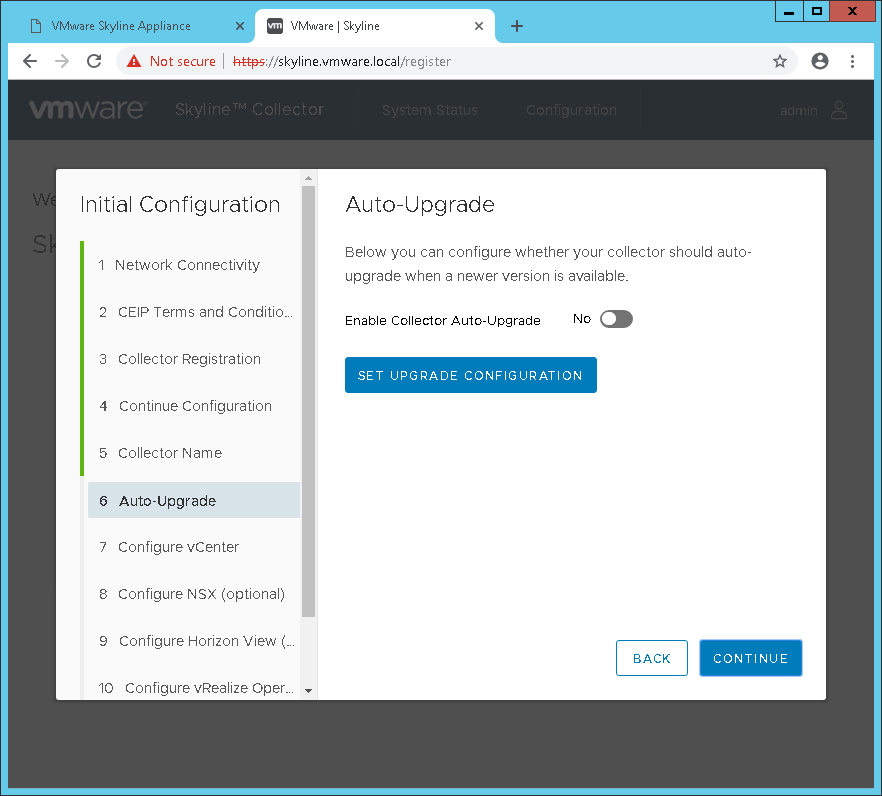
- Determine if you want the Skyline appliance to auto upgrade or not and then select continue.
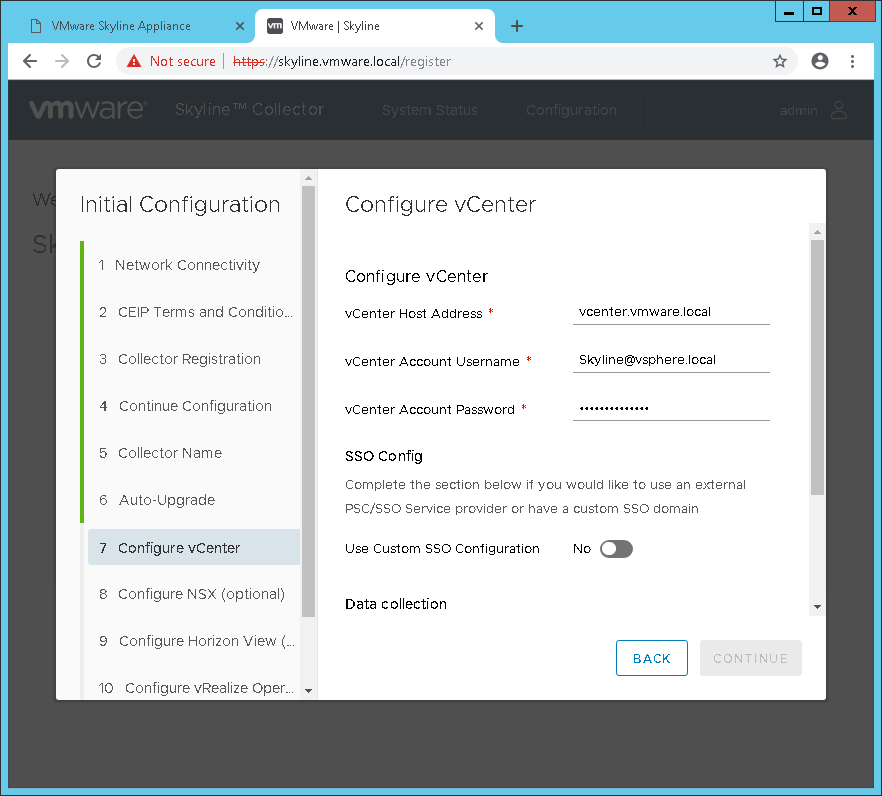
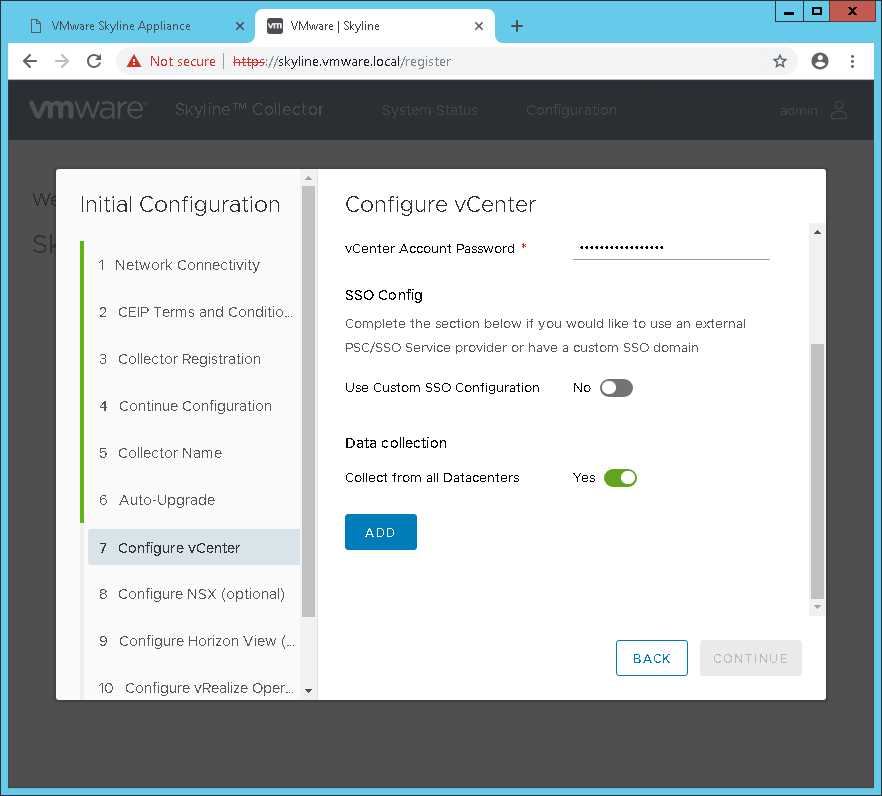
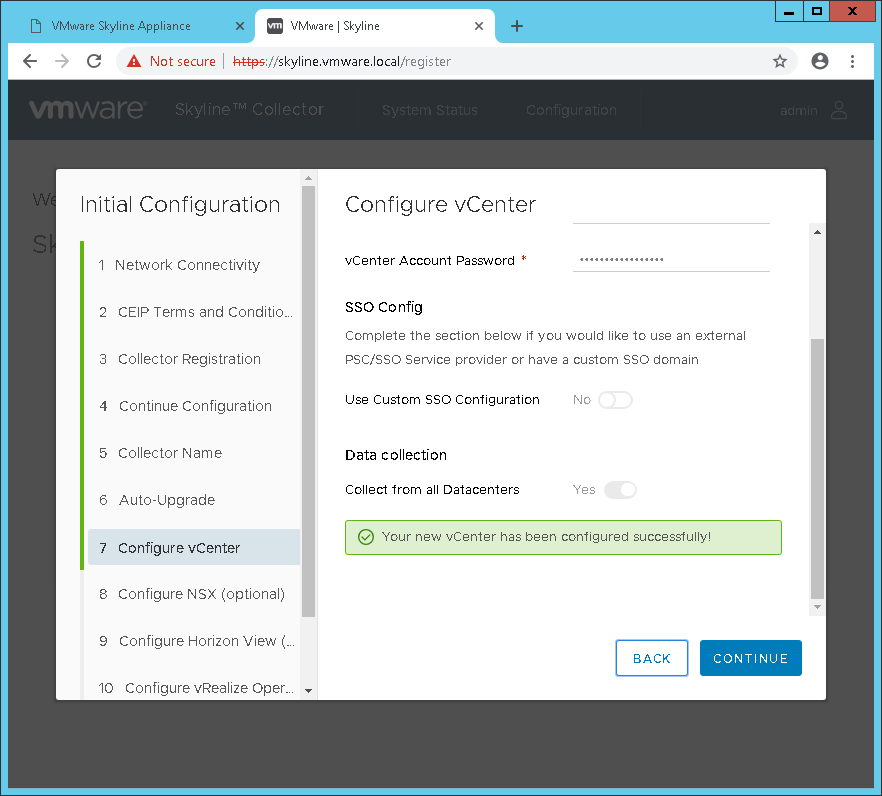
- Configure your vCenter information entering the account we created earlier and then scroll down and click the continue button. If your vCenter does not have a valid certificate then you might have to click Continue button to accept the certificate. You should receive a confirmation message of “Your new vCenter has been configured successfully!”, simply click Continue.
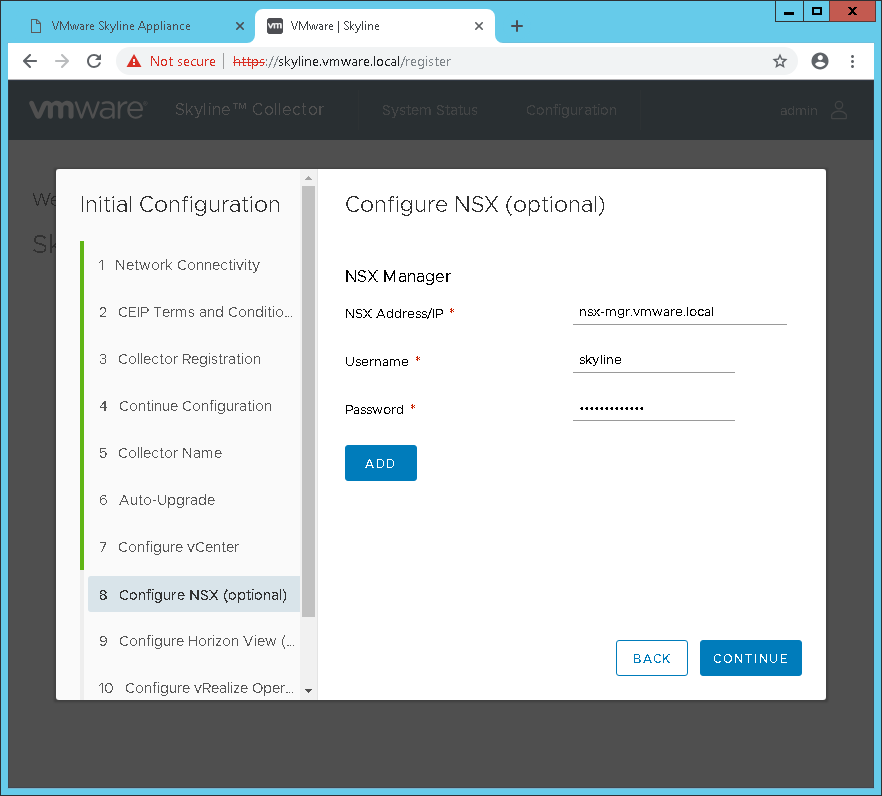
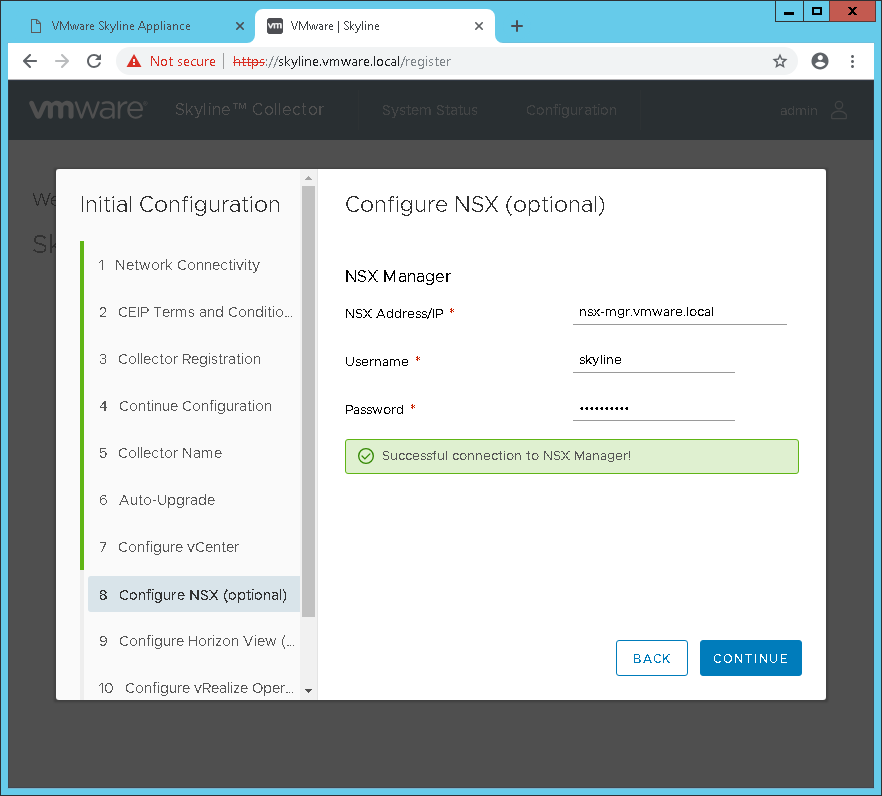
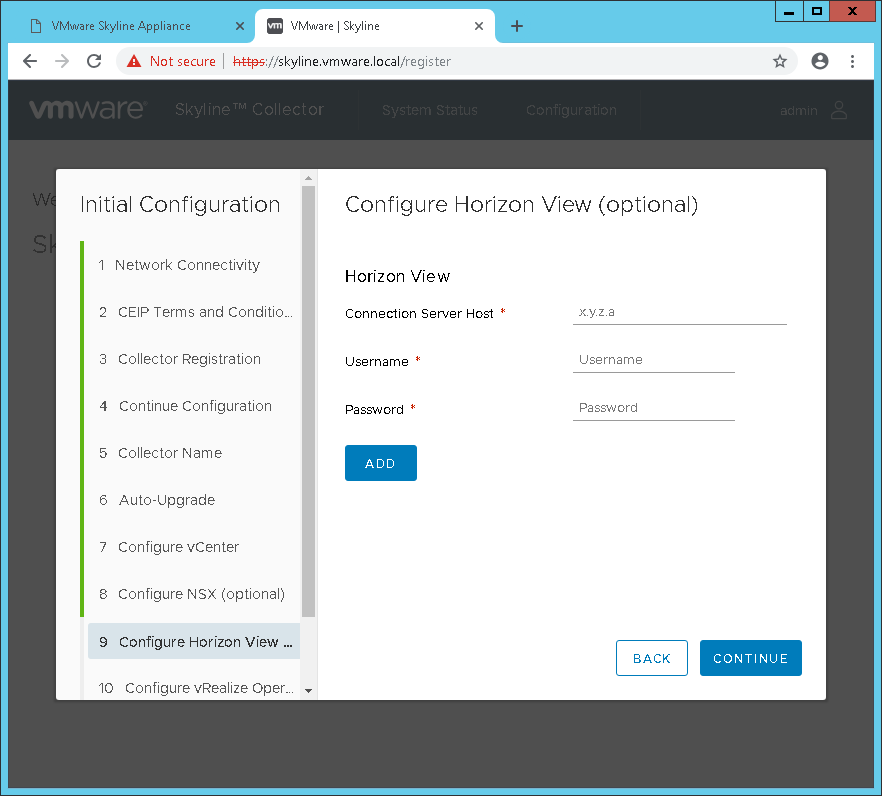
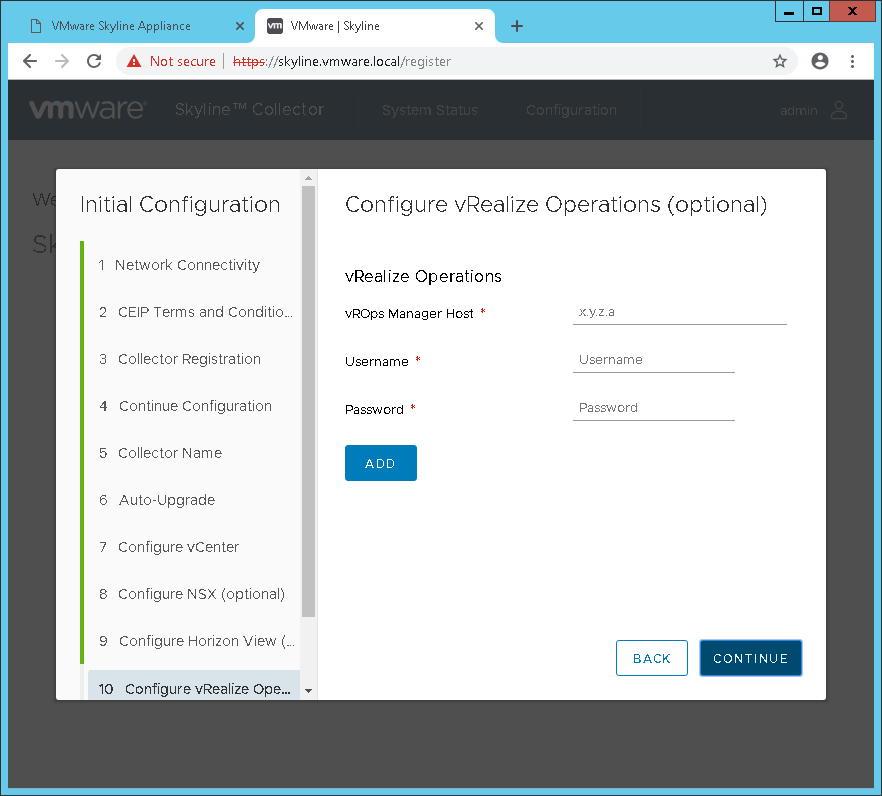
- If you are going to configure NSX, Horizon, and vRealize Operations then you will need to enter the appropriate information. For this exercise we will be entering NSX information. On the configure NSX window enter the NSX manager information and click the Add button. If your NSX Manager does not have a valid certificate then you might have to click Continue button to accept the certificate. You should receive a confirmation message of “Successful connection to NSX Manager!”, simply click Continue. Perform the same steps for Horizon and vRealize Operations.
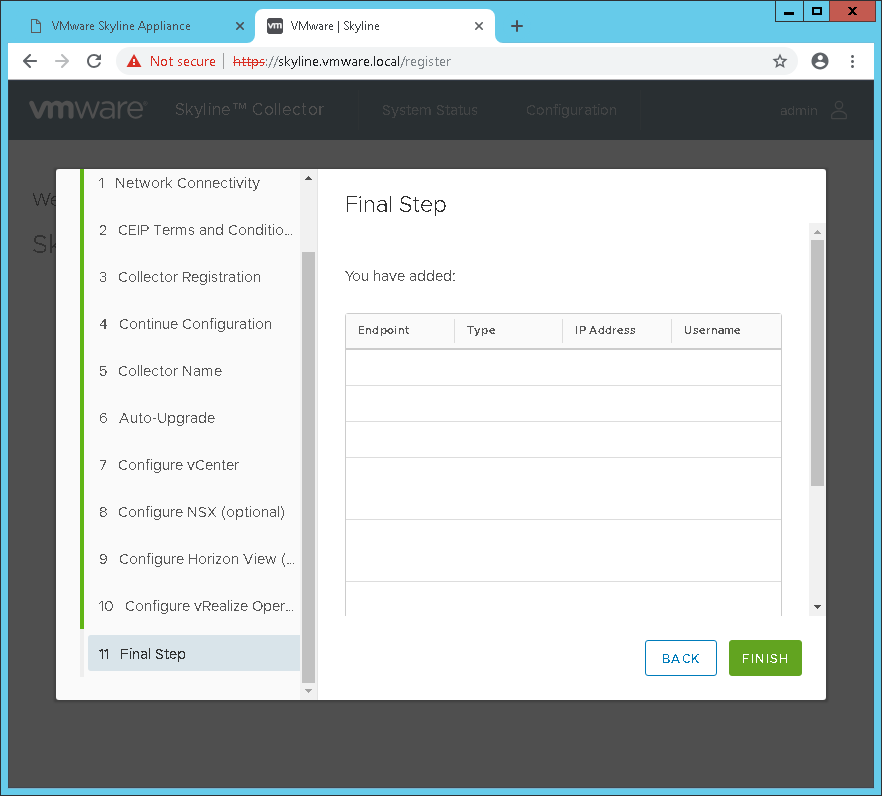
- On the final step simply click “Finish” to allow the configuration wizard to complete.
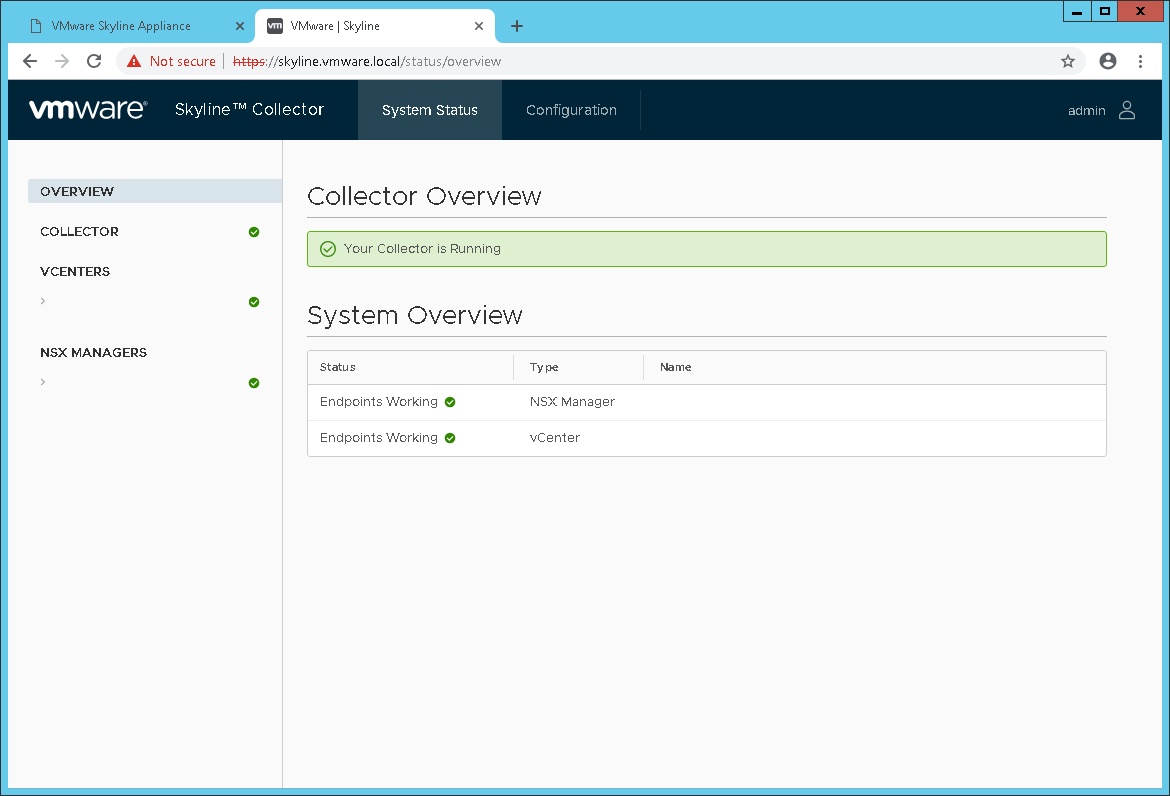
- You have now setup the Skyline product. Your collector should be shown as running and it will take a while for the data to be sent to VMware to analyze, from my experience it is usually only a few hours but can be up to 24 hours.
VMware Documentation
Official deployment guide
VMware Skyline Log Assist Rights
Configure NSX Manager (Optional)
Configure Horizon View (Optional)
Configure vRealize Operations (Optional)
Creating a User for NSX CLI and assigning API roles/permissions